I have so
far tried to keep this project in line with my last as much as possible
because the last one was simply designed and it works so well, but the last one did not
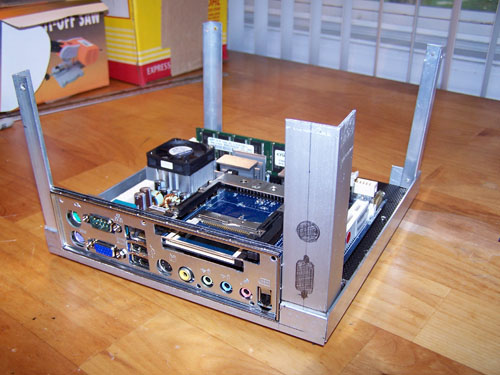
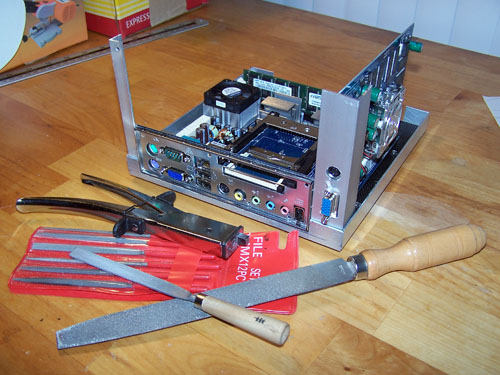
have a video card to deal with and that poses new problems. I tried cutting down the
piece of corner angle next to the video card, in the following picture you can see the
1/2" pieces of Alum Angle in the two corners. The cut Alum Angle corner
piece I made provides little structural support and is therefore less than
ideal, it will not be used.
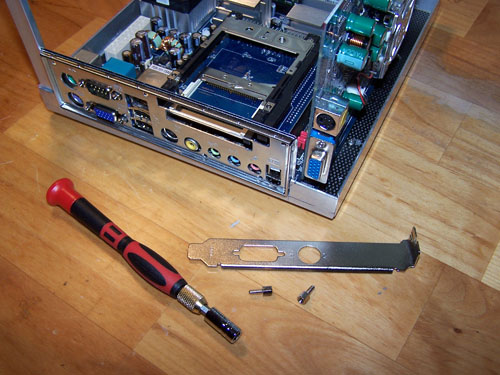
I got a way better idea how to make this all work,
I removed the two screw mounts and took the video card entirely off its
metal retainer... no warranties voided so far.
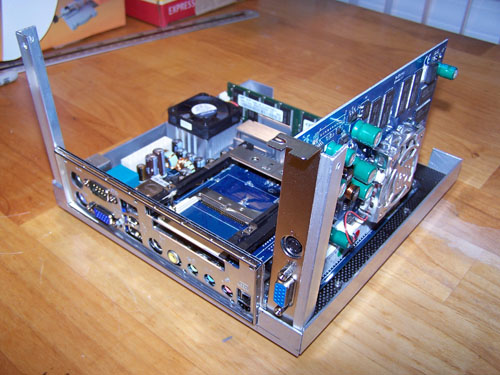
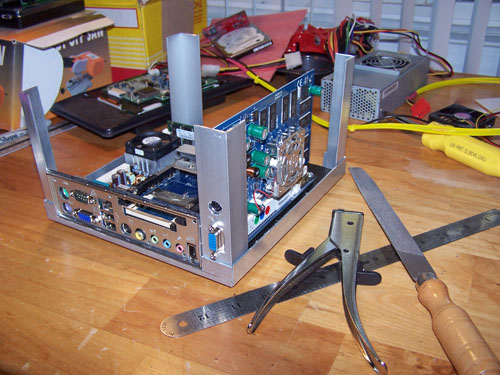
I cut a piece of one inch
corner Alum Angle to height and then measured and marked the spots that needed to
be removed to fit the video card. Notice the tight fit of the main board
back cover plate against the three Alum Angle sides, nice and snug... so far
so good.
It took me three tries
making this particular Alum Angle piece to get it to fit into the corner and
around the
video card properly, it still isn't absolutely perfect which kind of annoys me,
but it's close enough and won't really be seen in back. It's a lot
better design using the 1" Alum Angle instead of the shaved down
1/2" corner piece I'd made, definitely better structural support anyway.
09/26/08 Update...
I decided to
make all of the Alum Angle corner support pieces beefier, the 1/4" pieces
I'd planned to use will be cut down for outside corner edging. Doing
this will make the whole thing sturdier with the only downside being the added
width might make hardware installation difficult, which matters because this
PC must be serviceable/upgradeable.
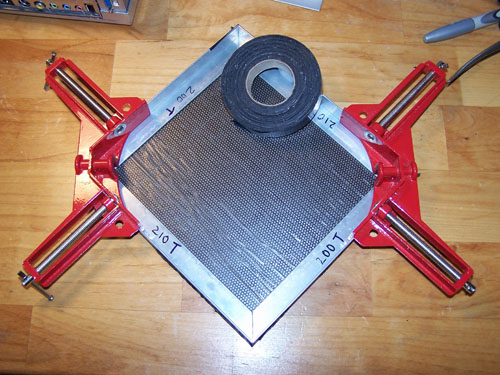
I plan to make this PC in
two pieces, divided top and bottom. The bottom section will have the
main board, video card and LCD attached. The top section will house the
DVD burner, hard drive and power supply and it will be screwed down instead of
riveted. I cut another piece of MeshX for the top and used some duct
tape to hold it all together.
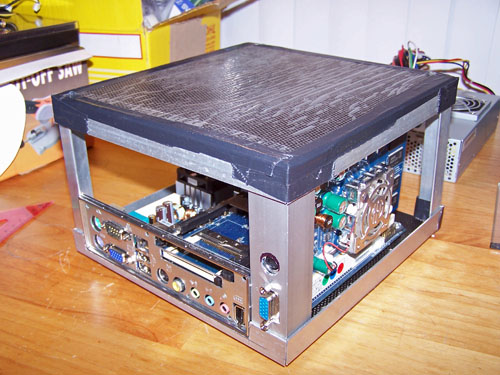
Below is the first test fit
of the hobbled together top, I still have a bit of cutting to do on it to fit
the DVD burner and LCD screen, but so far so good. It's coming together
well so it won't be too much longer before I can start throwing down some
rivets.
10/01/08 Update...
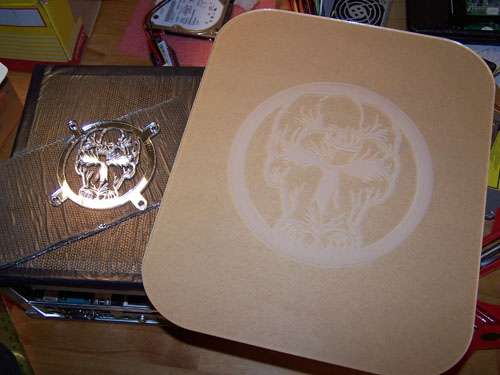
Ok, it's time to rename this thing
because I want it to be more Google unique, "Project Mofo" hits hardest as Frank Zappa
music... cool if this mod were a Zappa tribute, but it's not. The gluttony image that will be used on both the top and side of the
mod is shown below, it is the logo for my art business as well as my online
avatar - the new official vanity infused mod name is 'Project: TroyBoX'.
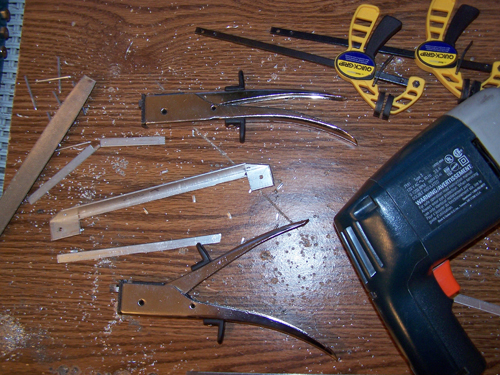
It seems that this is the
mod to kill my tools, first a Dremel and now my nibbler. The top nibbler
shown in the picture below is dead... thankfully I had a backup ready
to go.
I started throwing down
rivets, the bottom section is entirely set to go while the rivet together top is merely
set on, I drilled side holes for the top rivets but have to
wait to install them, doing it now means I won't be able to fit any hardware
inside.
10/05/08 Update...
Ok, other
than mounting the LCD screen the bottom half is set to go, so I decided to
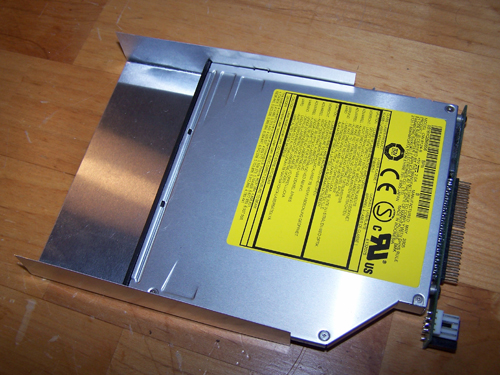
concentrate on the top half. Logic dictates that I start with the
hardware closest to the top and work down, the slim slot load CDRW/DVD ROM is
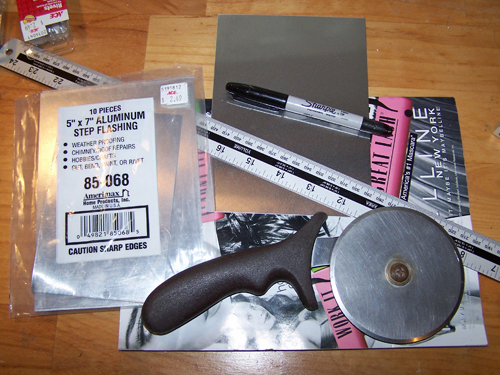
the top most hardware. Below shows some aluminum flashing that I
measured the CD drive onto, then I put a magazine beneath it while holding a
ruler tightly on top of it and ran the pizza cutter tight up with the ruler to
score and bend the aluminum flashing.
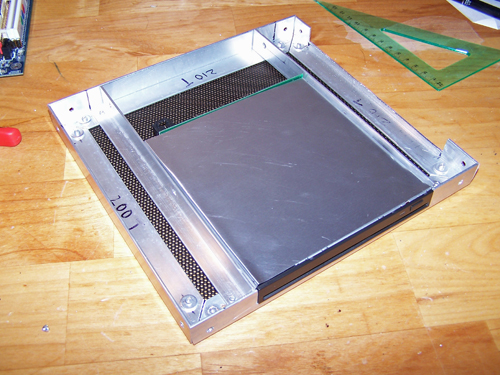
The next picture shows the
test fit, the aluminum tray sits too high compared to the height of the drive
and still needs a bit more bending of the top edges, but so far so good.
I cut a couple lengths of
Alum Angle to support the drive tray I just made, drilled my holes and then
rivet the whole thing together. Everything lines up really well and the
drive can go in and come out quite easily with the rear laptop adapter PCB
removed.
Below shows the top mocked
up with the slot load drive installed, this thing just keeps looking more and
more like a sweet little computer. Truth told, the entire mod up to this point could be accomplished
with a nine dollar nibbler, hand files and a drill. So far on this mod I've
used
the nibbler more than any other tool, proving that you don't need a
shop full of tools to do this kind of stuff.

10/08/08 Update...
I want to
finish mounting everything onto the bottom half of this so that I can more
easily visualize parts placement and concentrate on fitting everything into
the top half. I used the nibbler to cut some 1" corner Alum Angle pieces for
mounting the 6" LCD monitor, it was a process of fit,
nibble, file, repeat.
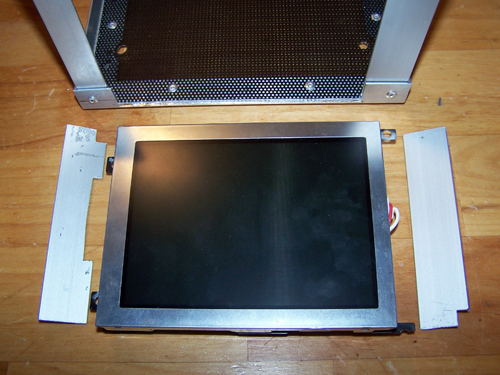
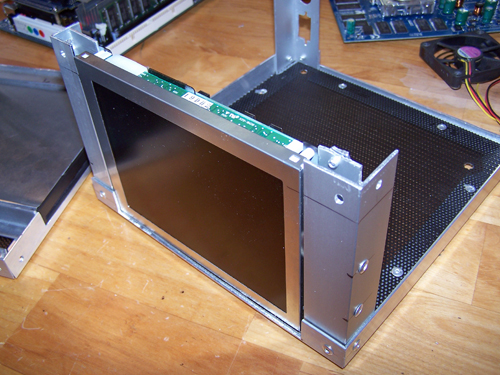
Below
shows the LCD set into place for a mounting dry run...
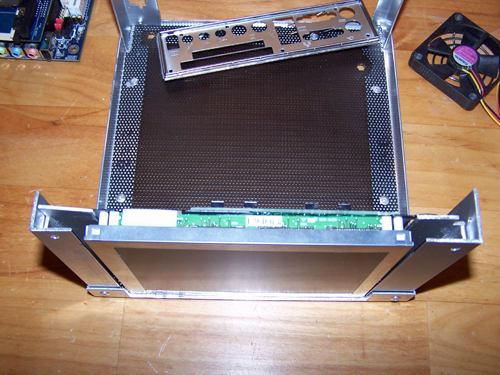
This
next picture shows the back of the 6" LCD monitor rivet into place.
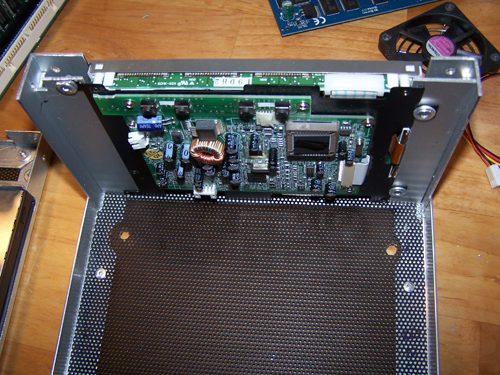
Here's a front shot of the
monitor rivet down and ready to go.
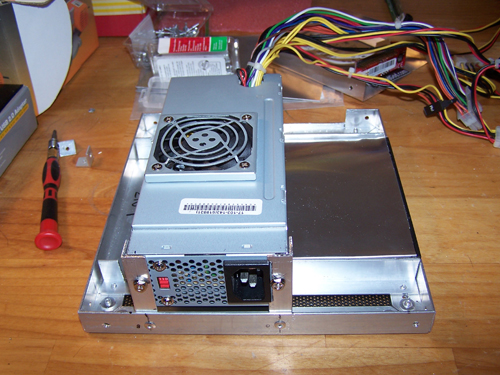
Back to the top section, the
power supply needed to be mounted so I cut and drilled some Alum Angle pieces
to make it happen.
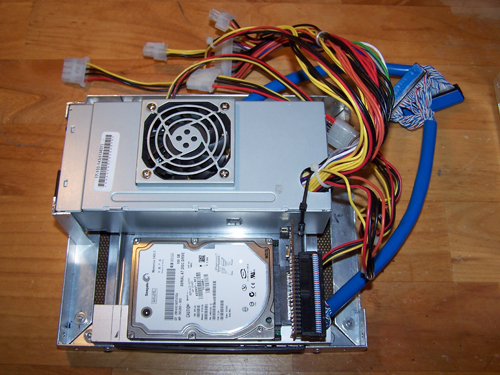
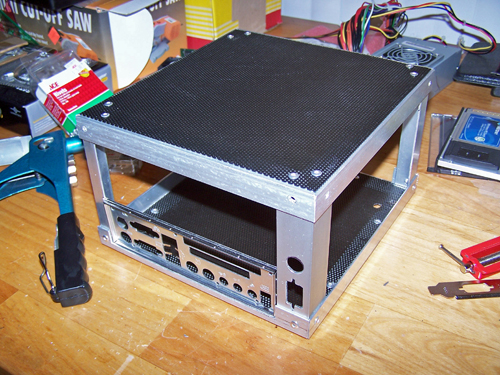
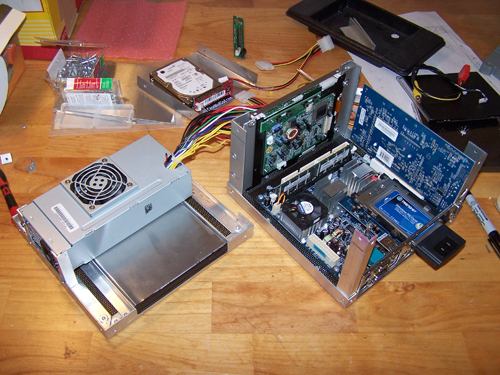
Below shows the top section
with the CDRW/DVD ROM and PSU installed next to the bottom section with the
main board, video card and 6" LCD monitor installed. The laptop
hard drive in the background is the only piece of hardware still needing to be
installed.
I puzzled
for hours over how best to install the hard drive before coming up with a
simple solution, below shows the top half of the mod wired up and ready. After installing
the hardware I tried to put the top on and it's going to need some pretty serious cable management before it
will fit.