I have been busy designing an entry for this years ArtPrize
competition. With
a design inspired by previous modding builds, this art project mixes
old school with new style by showcasing my first ever dual image
work with some cool LED lighting techniques.
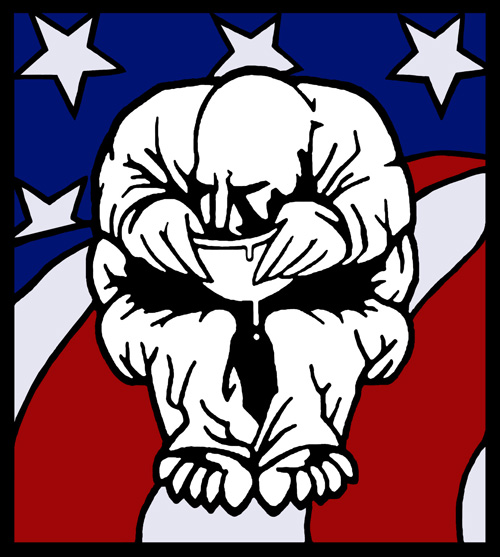
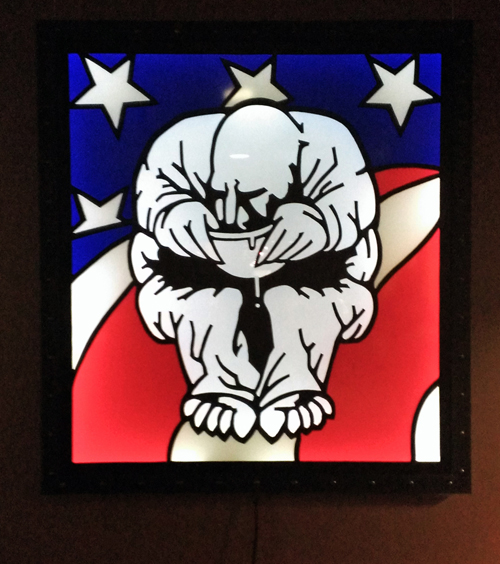
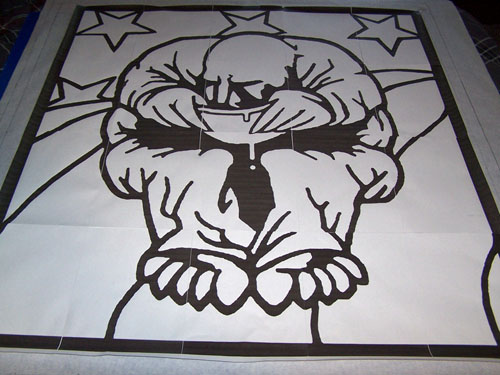
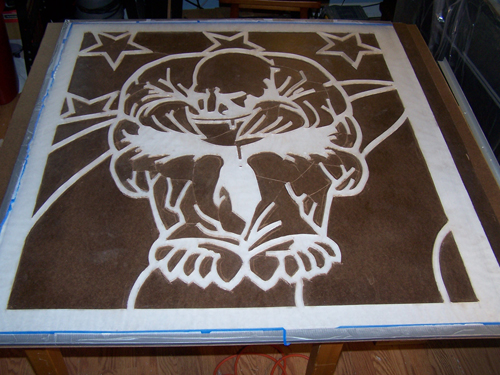
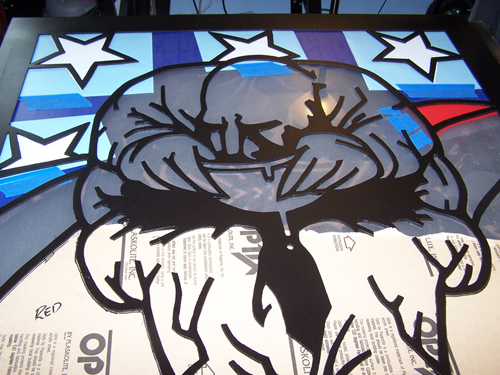
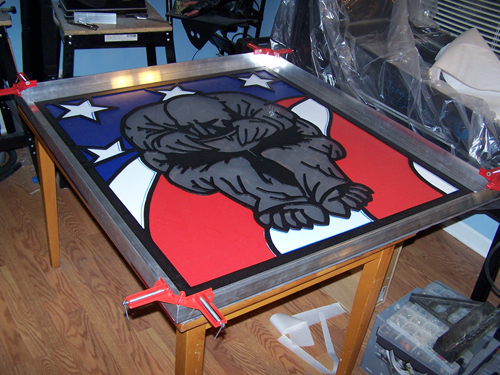
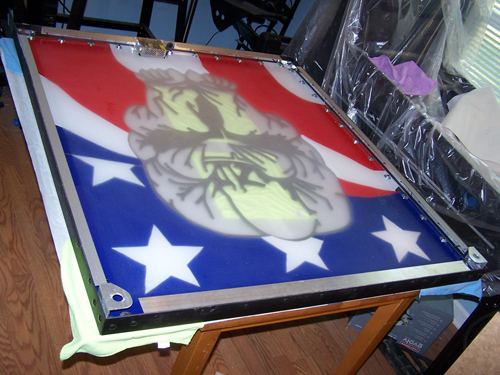
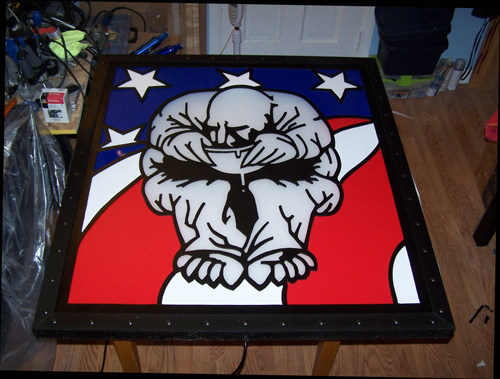
Above is the image I plan to build into something amazing, it is my
Gluttony image with a patriotic looking background and it has been
interpreted differently depending on who views the image, the real
meaning is based on somewhat disturbing actual events.
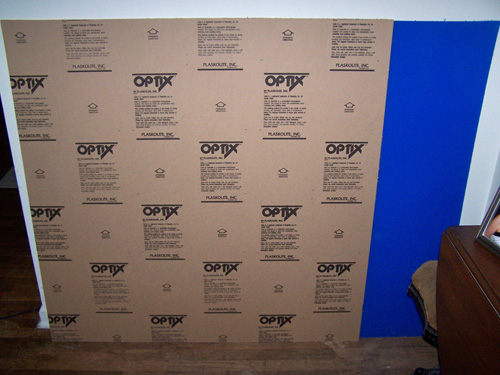
The main material of this work is acrylic, one 4' x 4' sheet in 3/8"
thickness and another 4' x 4' sheet 3/16" thick.
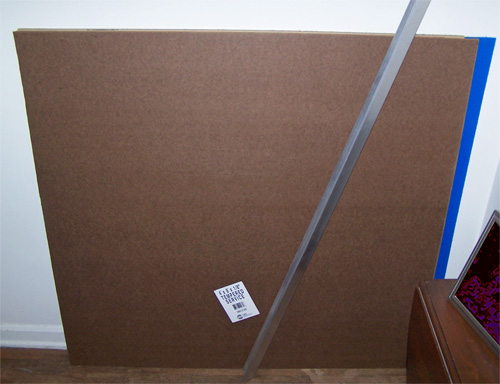
Two lengths of 1/8” x 2” x 2” x 96" corner Aluminum Angle and a
sheet of 48" x 96" x 1/8" tempered pressboard that I cut into two
pieces with one slightly larger than the other.
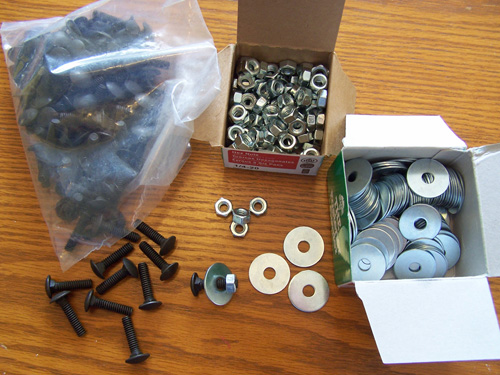
Above shows 100 1/4-20x1" Black Oxide Carriage Bolts, 100 Nuts and
100 Fender Washers.
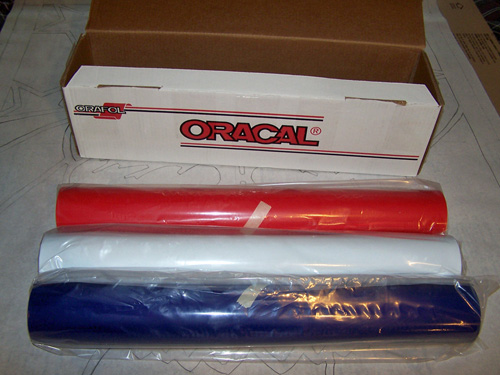
Three 2' x 10' rolls of gloss sign vinyl in red, white and blue.
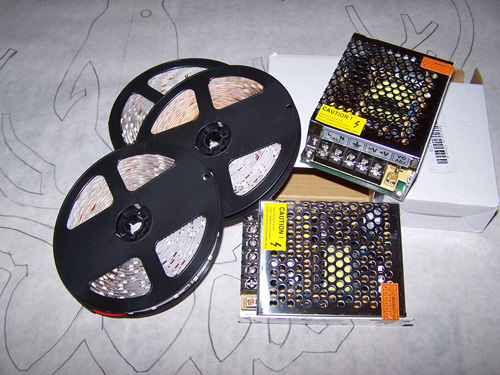
The whole thing will be lit up with SMD LED strips, I have three
strips of 300 LED's and two small 12v power supplies.
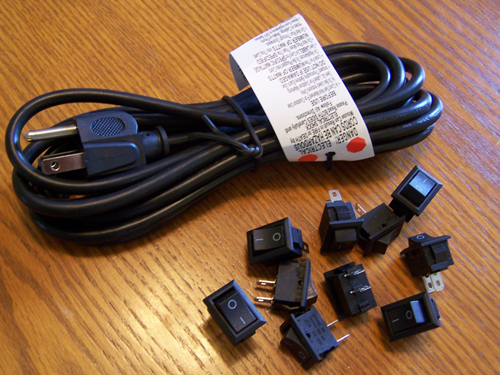
A ten foot long power cable and ten on/off switches, only two will
be needed but it was cheaper to buy ten than two.
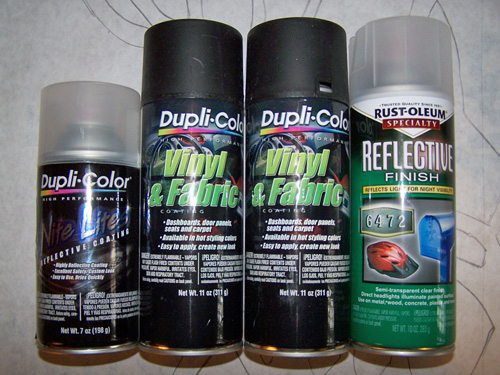
Vinyl and fabric paint in flat black and two different brands of
reflective coating.
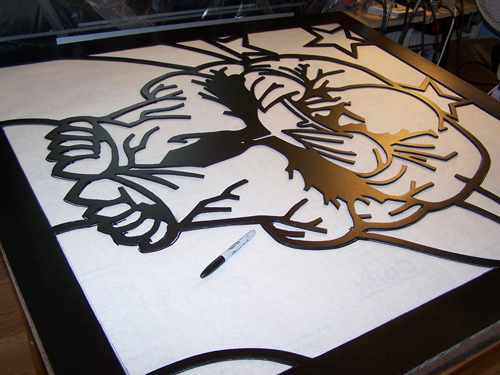
The first thing I did was convert my image to just the black outline
and then used Rasterbator
to make it the right size.
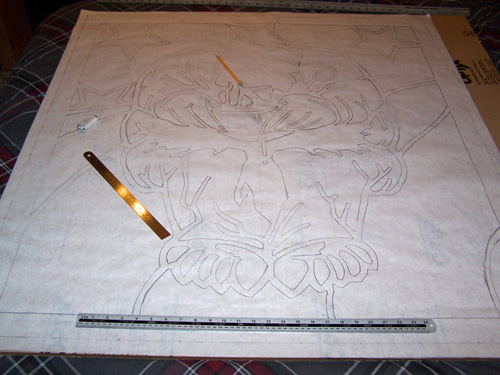
The image didn't print 100% perfect so I re-traced the image and
fixed the problem spots, this will now act as a cutting template.
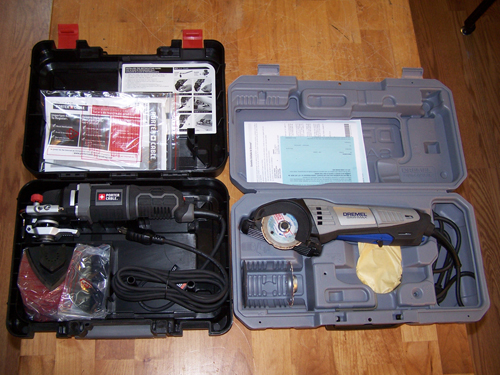
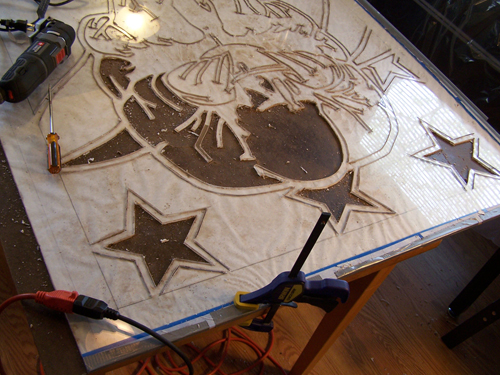
I love power tools, above is my new Porter-Cable 3amp oscillating
tool and Dremel Saw-Max.
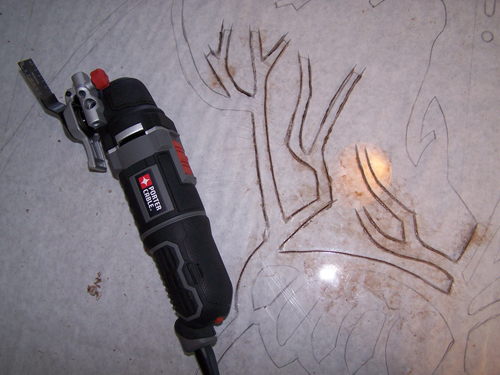
Slow and steady and it cuts pretty good, straight lines in
particular.
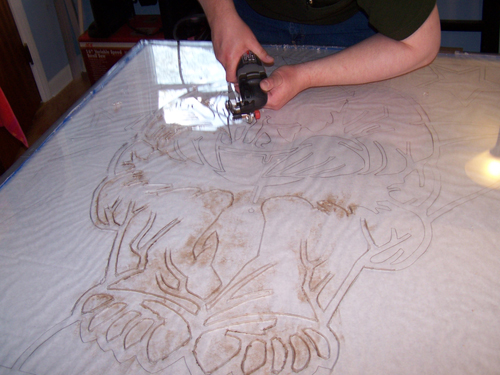
Cutting out the image, progress.

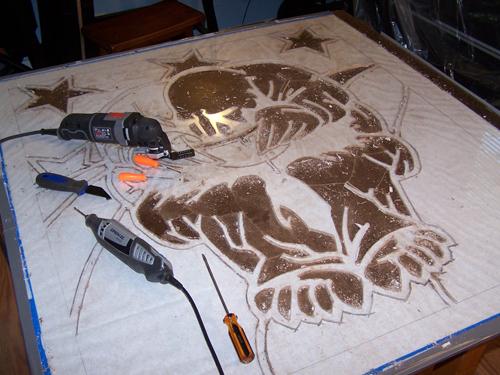
Almost there...
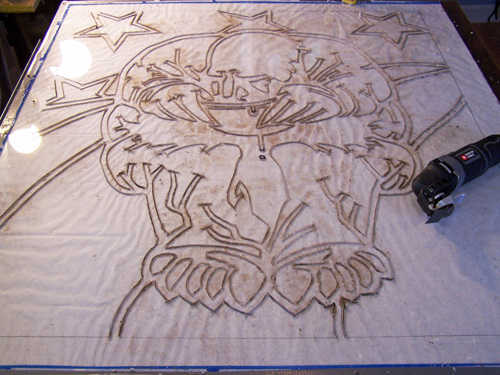
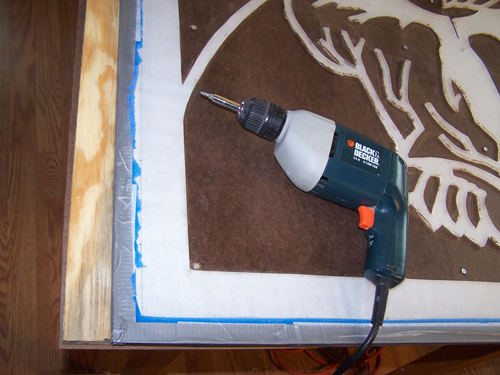
I need to hit a couple spots with a drill or Dremel, besides that
and cutting the edge lines it is fully rough cut, time to start
removing the excess bits.
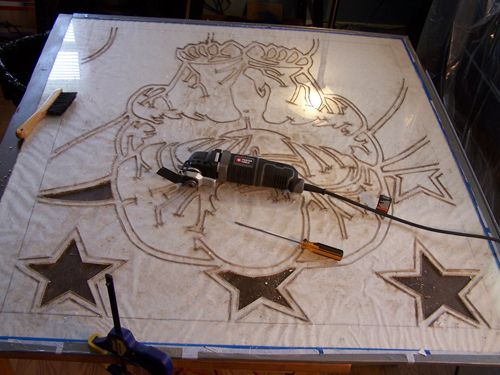
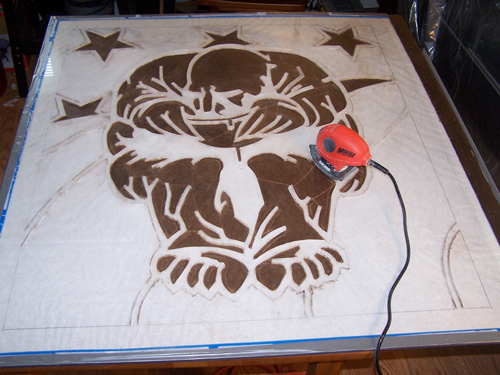
This is the tricky part so far and I knew it would be, not cracking
the acrylic when removing the scrap is challenging.
Slow and steady gets kind of tedious.
Sanding it to rough up the surface before I cut the outside edge
lines.
Acrylic is not an easy thing to carve, it is very crunchy... but I
love the stuff.
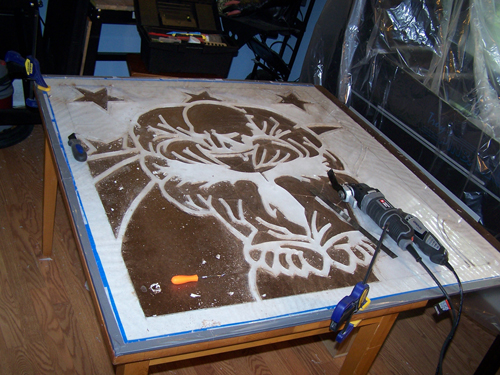
Cut.
Everything is cut and sanded, but as it sits it is too flimsy to
take outside and paint.
I bought a 4' x 4' sheet of 1/2" plywood from the lumber yard and
screwed the whole thing onto it so that it can be moved without
cracking.
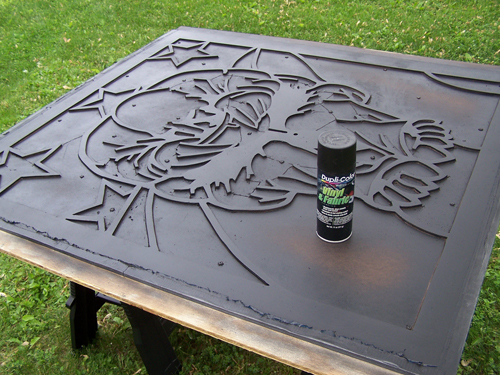
Outside for a couple coats of black vinyl paint.
I cut to size and then placed the image outline onto the 3/8"
acrylic sheet.
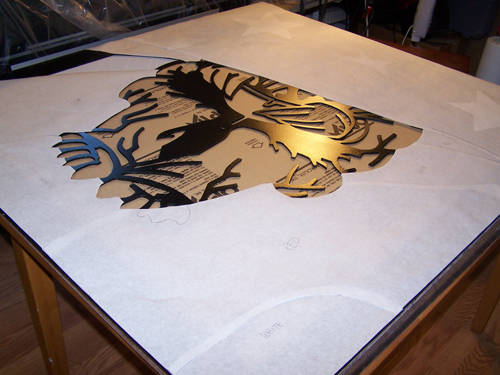
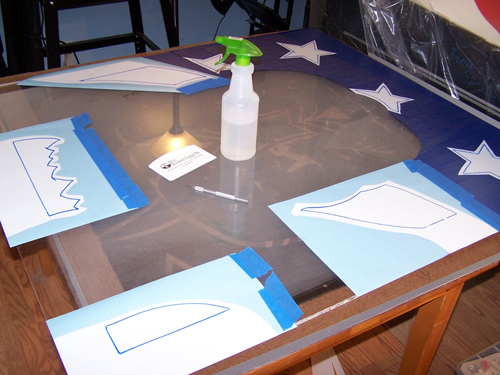
Paper was marked and templates cut.
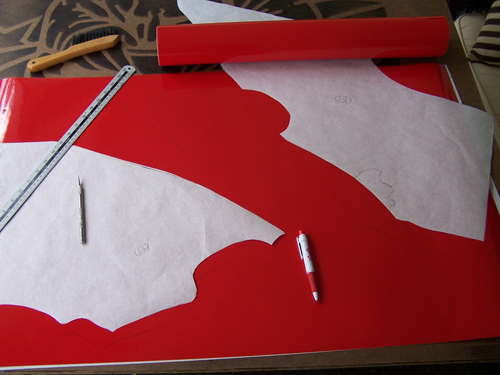
The templates were traced onto vinyl and cut.
Here is the rough cut fully prepped vinyl all laid out and ready for
installation.
Paper was placed under the outline and traced, this will make final
cutting the vinyl easier.
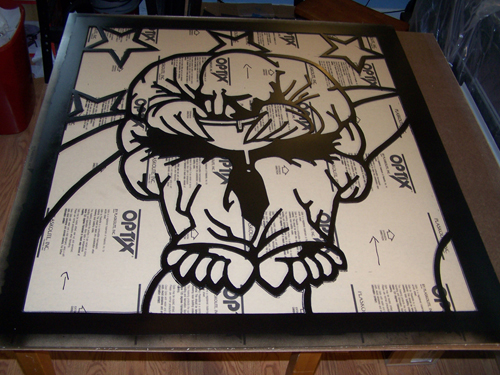
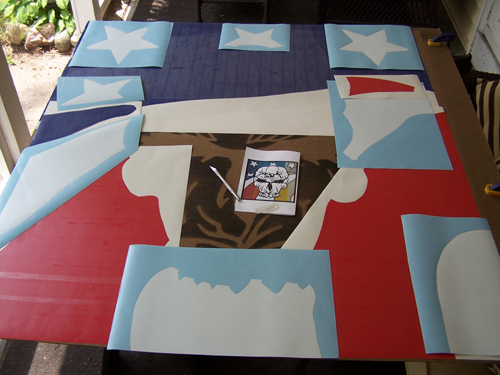
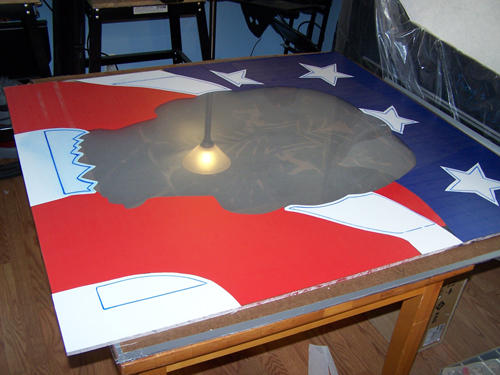
All of the blue vinyl is stuck down and the top bits of white vinyl
are laid out ready to be installed.
The last of the white vinyl is laid out, using a spray bottle makes
things easier.
The vinyl is completely installed, but the low tack protective top
film has not been removed.
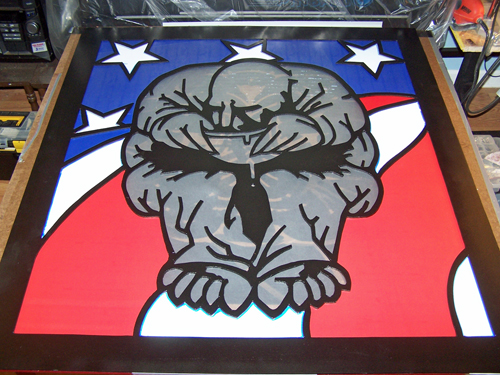
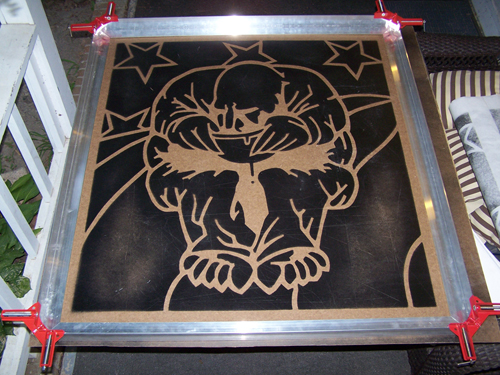
The 3/16" black acrylic outline panel is placed on top for a test
fit.
I cut my aluminum angle frame and used corner clamps to hold it all
together.
Bolt holes are drilled, now it is starting to come together.
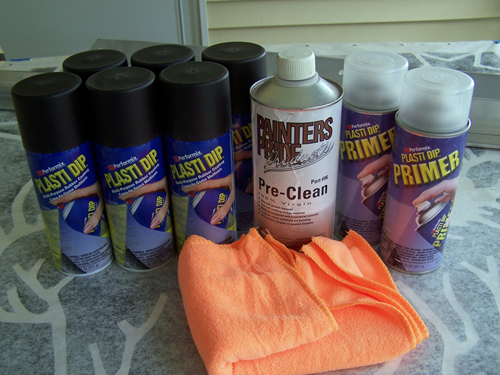
After a quick cleaning Plasti-Dip primer and Plasti-Dip black will
be used to coat the aluminum frame work.
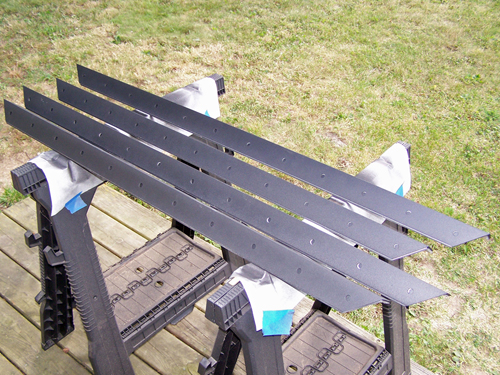
Here is the aluminum frame work after being rubberized with two cans
of black Plasti-Dip.
The frame is entirely attached, the aluminum hangers and the back
support pieces are also installed.
I used the aluminum framing as a template for the back panel, which
will be cut from the piece of pressboard that sat beneath the 3/16"
sheet of acrylic that was vinyl spray painted black.
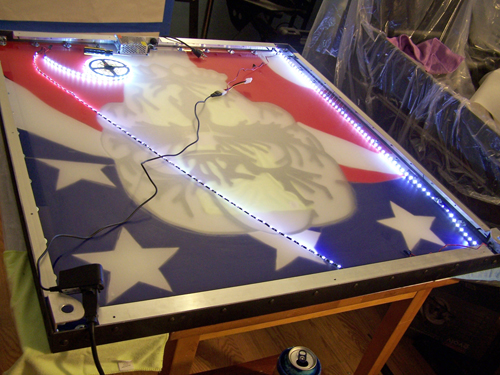
387 LEDs in total are used to light the insides, two strips of 60
SMD LED edge lights and another strip with 267 SMD LEDs.
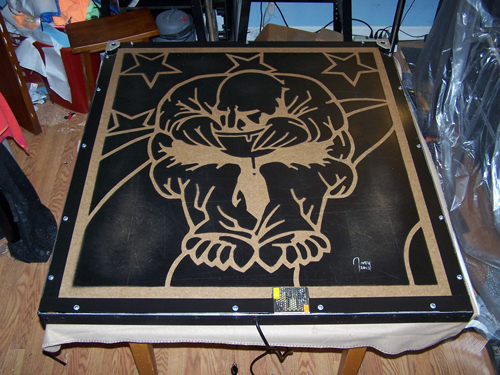
The back is installed and it's kind of a shame that it faces the
wall because it looks so good.
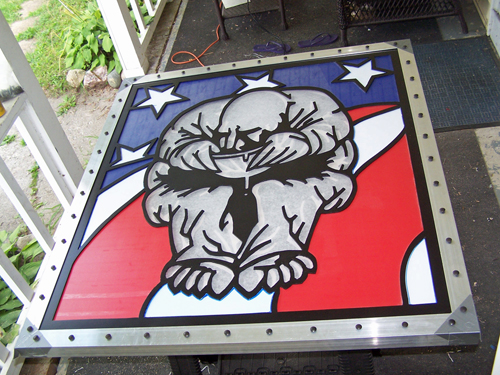
Here it is right side up entirely put together and plugged in for
the first time, picture taken with the camera flash on in full
daylight.
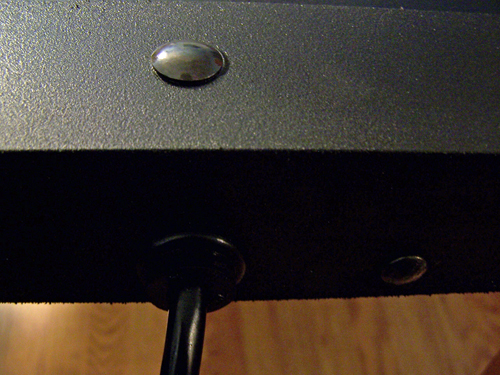
A close up of the Plasti-Dip finish, the two different sized black
oxide carriage bolts I used and also the rubber grommets I used to
hold the electrical cord in place.
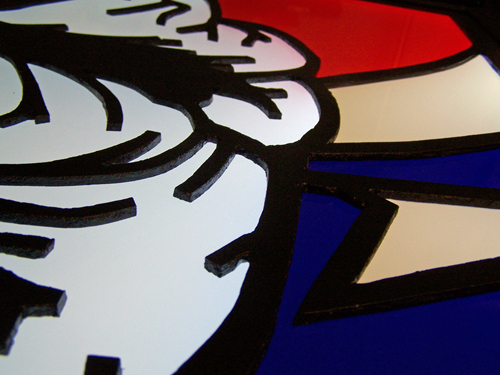
I include this picture to show the detail and also to show the color
difference between the white vinyl and the frosted etch.
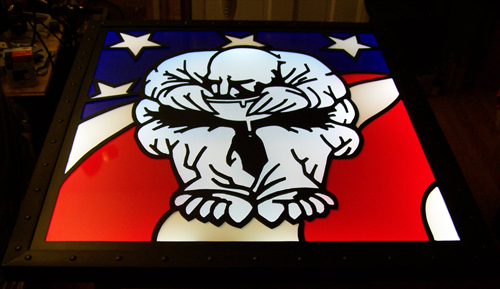
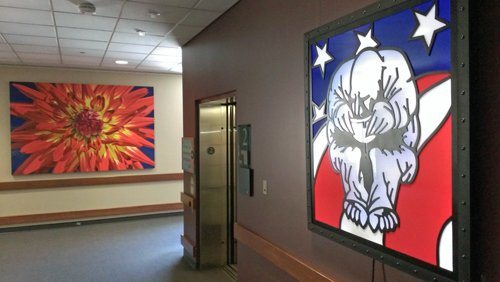
The finished work in the dark, I am quite pleased with the way it
came out and it looks exactly as I envisioned it in my initial
design sketch... pictures don't quite do it justice.
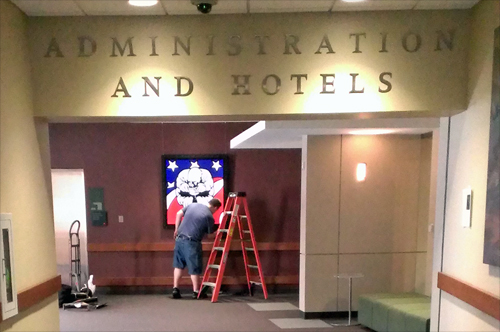
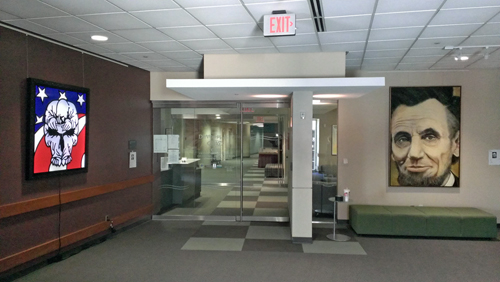
My art piece resides at the end of a long hallway, as people
approach they should see the skull first and the man and bowl as
they get closer... which is perfect.
The ArtPrize is still a week and a half away, but artists have
already started exhibiting their work, mine is just outside the
level 2 elevator doors.
See it live at the DeVos Place Convention Center in Grand Rapids,
Michigan from September 5th through October 16th, and please vote
for Gluttony September 18th through October 6th at ArtPrize 2013.