|
Fraggpad Mods Ok, I have a Fraggpad, an applique and I also have a couple blue Lazer LED's sitting here... sounds like a recipe for a mod. This is a really simple, inexpensive mod that adds loads of class to this mouse pad and can be completed in under an hour. Powering the blue Lazer LED's is no problem since I have already built and modded a testing PSU, so all I have to do after the pad is modded is plug the LED's into one of the (glowing) molex connectors from my Atomic MOBY desktop PSU and there you have it... a blue glowing modded mouse pad. Did I mention that this mod cost less than $15.00?
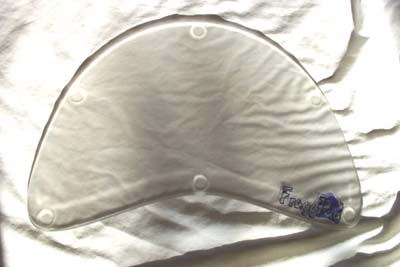
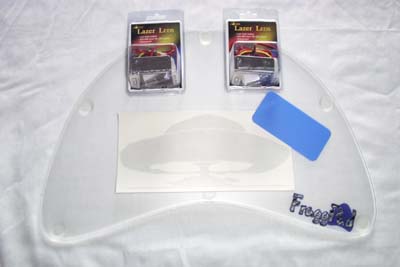
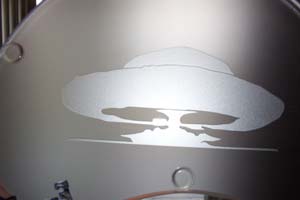
Materials: For this mod you will need a FraggPad, an applique and a couple of lazer LEDs.
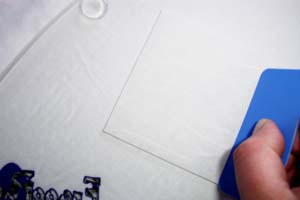
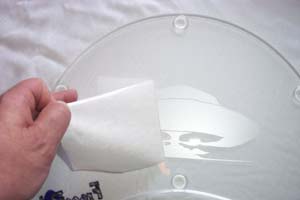
Process: First you will need to clean the back of the FraggPad, make sure there is no dust or lint on it. Next, position the applique and using the included blue card smooth it down. Use the card to push any bubbles to the outside edges of the applique, take your time and press them all out. You can flip over the pad and check to see where the bubbles are and then work any areas that need it, don't rush this part and your applique will be bubble free. That is unless you have dirt or lint trapped beneath the applique causing the bubble and that is why you clean it good first. All that is left now is to remove the adhesive backing and admire the applique on your mouse pad.
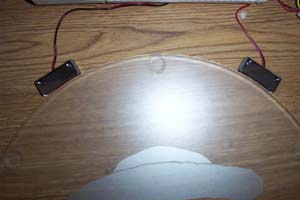
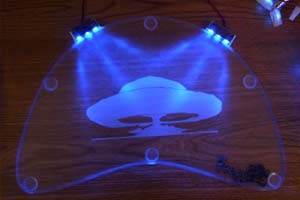
It looks nice, and there are no bubbles. Now normally for a how-to guide this is the point where I would remove the FraggPad logo sticker and then break out the Dremel and notch out this mouse pad to fit the Lazer LED's, gluing them in place after. But not this time, this mouse pad is going to be given away in a contest and the Lazer LED's were bought for another project, you can see my dilemma. It would be simple enough to do any way that it doesn't really need to be shown or explained. Below you can see the positioning of the Lazer LED's, I placed them along the top edge where they would best shine onto and illuminate the applique. All that's left now is to plug it in, fire it up and see this pad glow.
Finished: Not too shabby, the lights really make the applique stand out and the edges and feet of the pad glow real pretty too. Even though the LED's are not permanently attached this mod still rocks, have a beer and congratulate yourself on yet another mod completed. 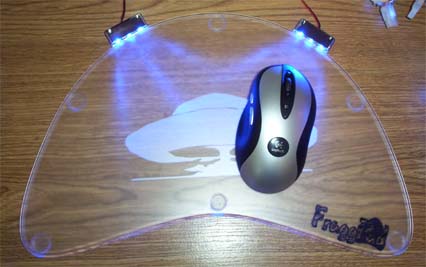 Even though the LED's are not permanently attached this mod still rocks, have a beer and congratulate yourself on yet another mod completed.
Happy Modding - Guide written by ARTbyTROY |
|
Disclaimer: This how-to guide is presented for informative purposes only. CaseModGod.com can not and will not be held responsible for damages to or resulting from anything that you may decide to do to your case or hardware and also can not and will not be held responsible for injury to your self or others as a result of attempting any of the things that are shown on this site. Basically you are responsible for your own actions whether said actions were based on information garnered from this site or elsewhere, learn to deal with it. |