|
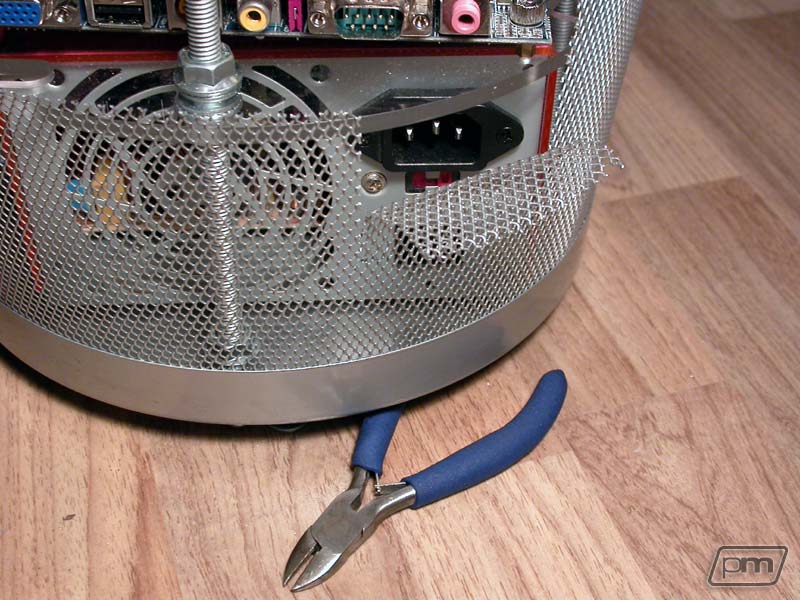
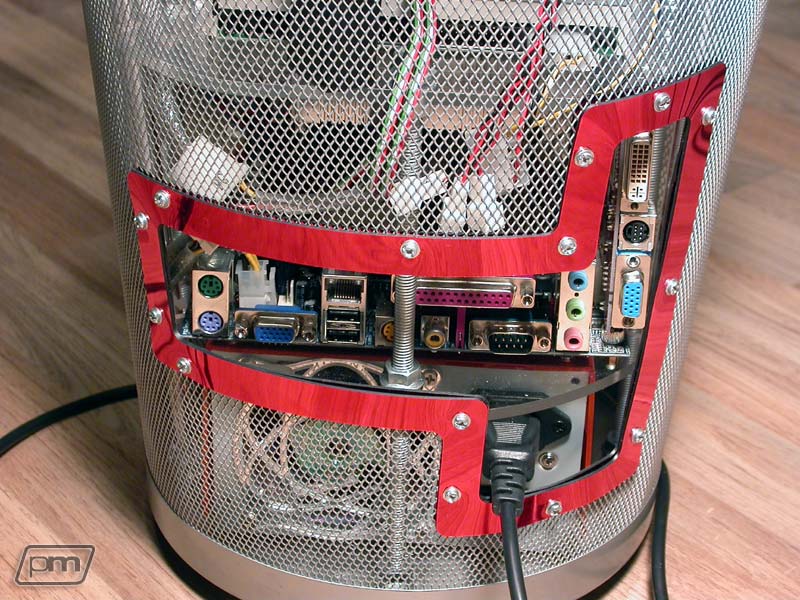
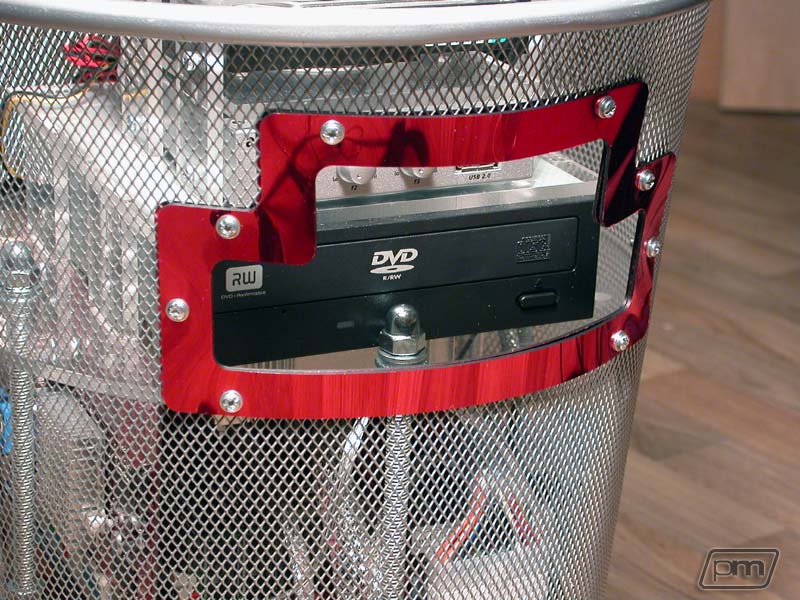
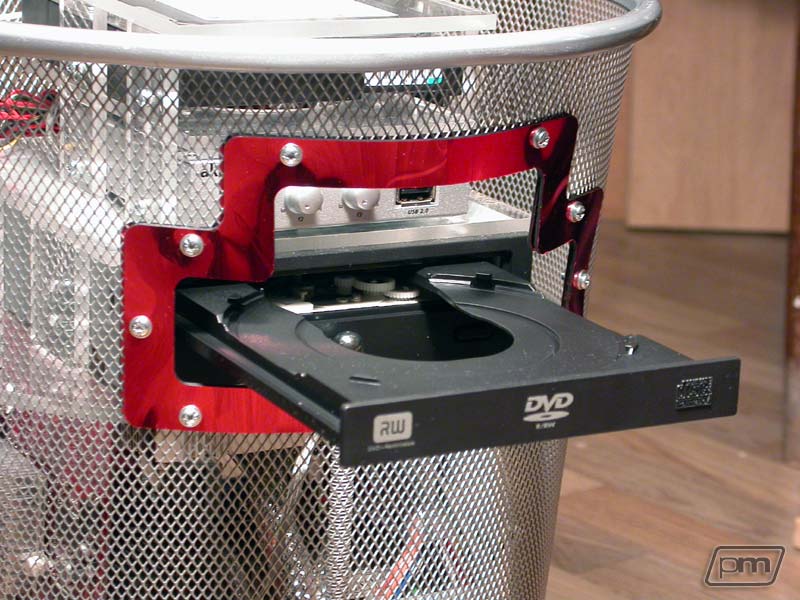
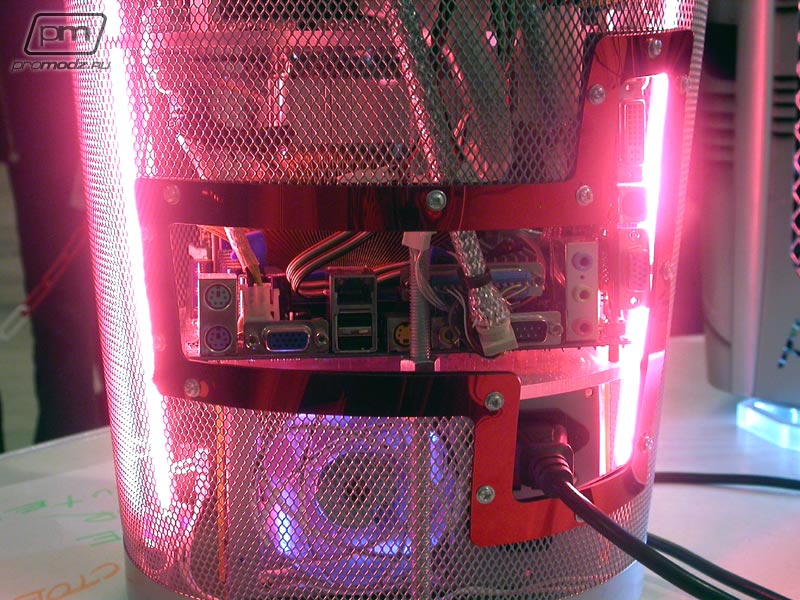
Stage 3. Managing parts. In the previous two parts of the worklog we described only 50% of our laboratory experiments – design development and carcass creation for the project. The other 50% is finishing the parts to the final stage. The first thing we need to do is provide all the devices with connectivity to the outer world, in other words – cut the windows in the bin for external device connectors on the mobo and for access ton the DVD-ROM and rheobus.
Cutting windows in and of itself doesn’t create any real problem – cutting pliers do their work fast and accurately, but here comes a big problem; what should we do with edges of these cuttings?
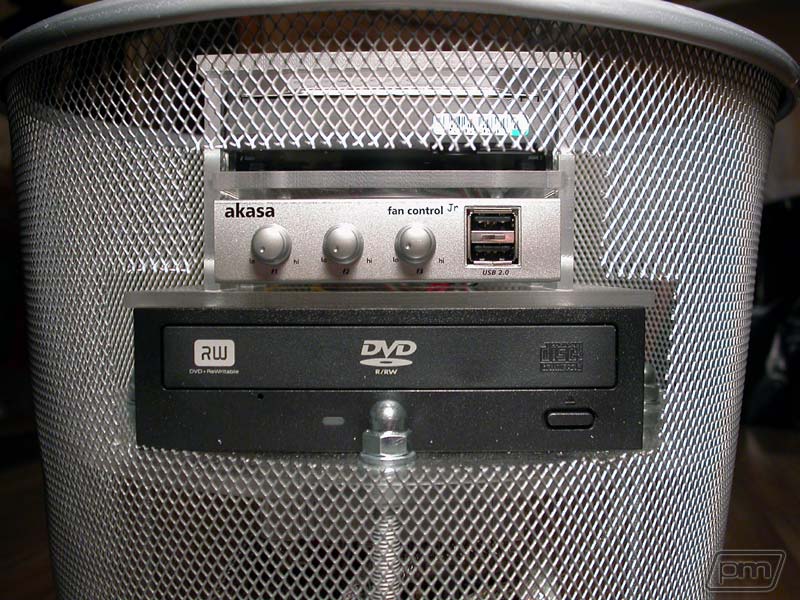
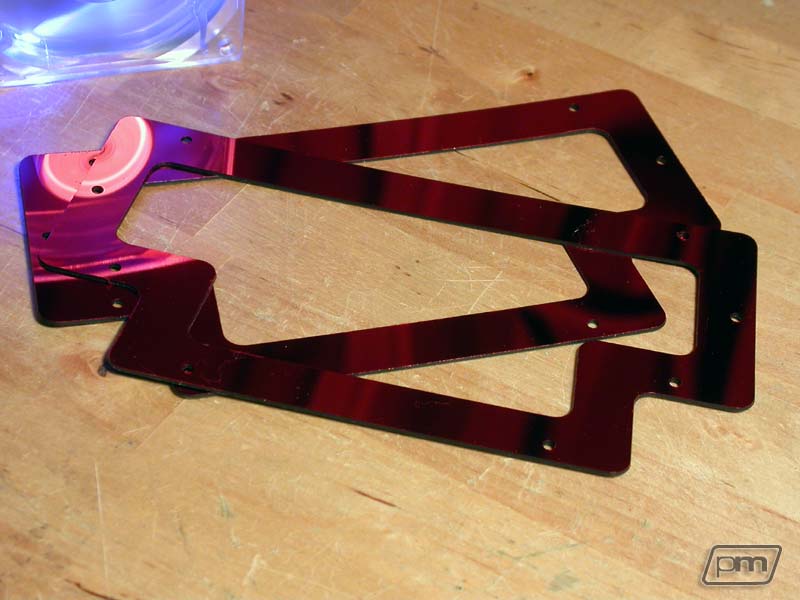
The edges are very sharp, and looks like barbed wire. The first idea that came across our collective mind was to put molding on the edges, but the rubber one looks, to put it mildly, not very inspirational. If we use the metallic molding it will be too hard to work with... anyway, using molding means we will have a meeting-point in a contour that doesn’t look pretty. The solution was found – we made sandwich out of soft plastic, it is 1mm (1/25”) thick and red colored.
This kind of design is often used by beginners to hide defects of cuttings, but they usually use mirrored plexi. Sandwiching is two equal parts placed on opposite sides of the bin wall and then tightened it all down with screw-bolts. This completely solves the “barbed wire” problem and blends nicely with the whole design.
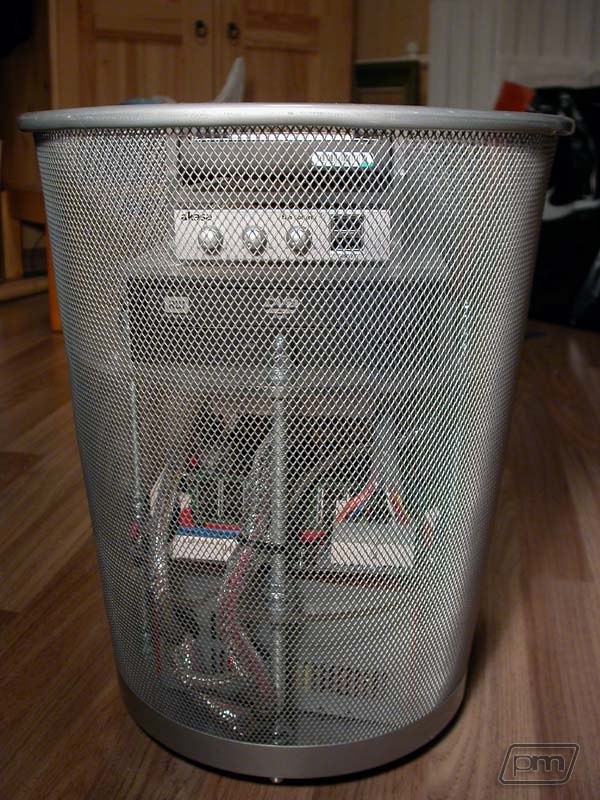
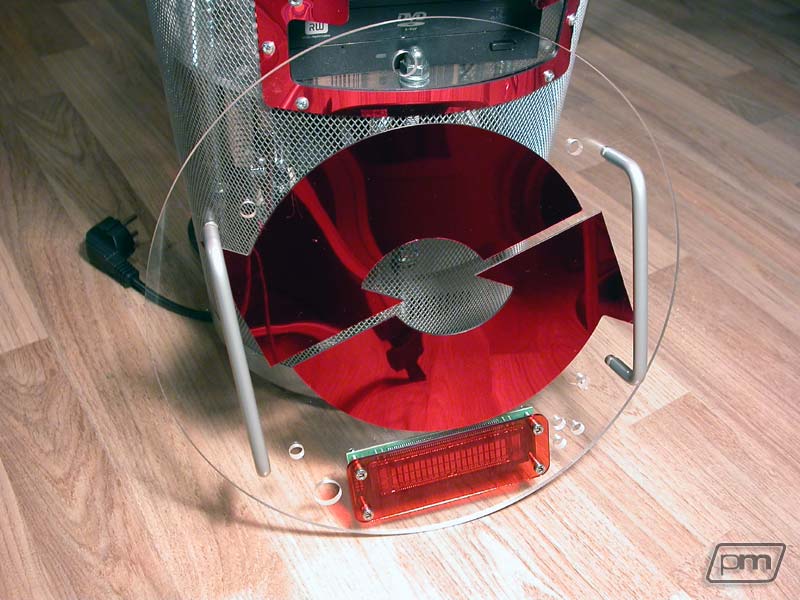
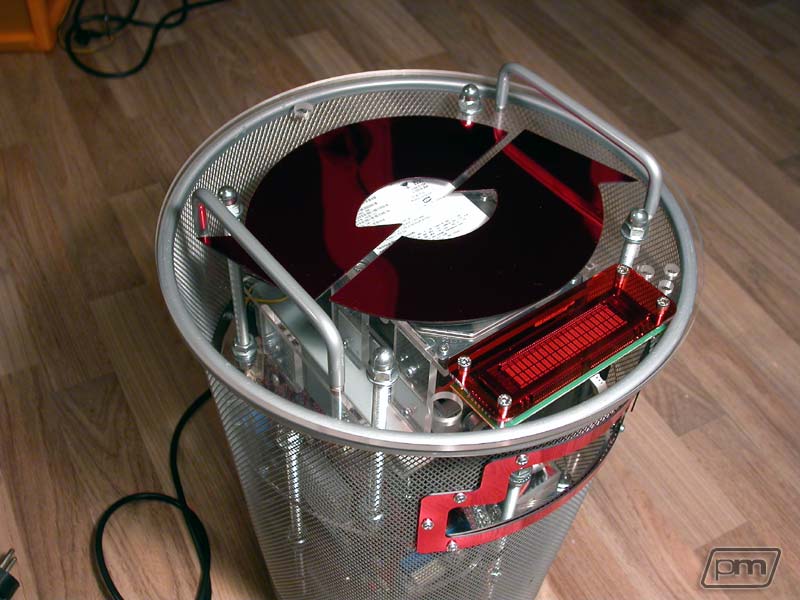
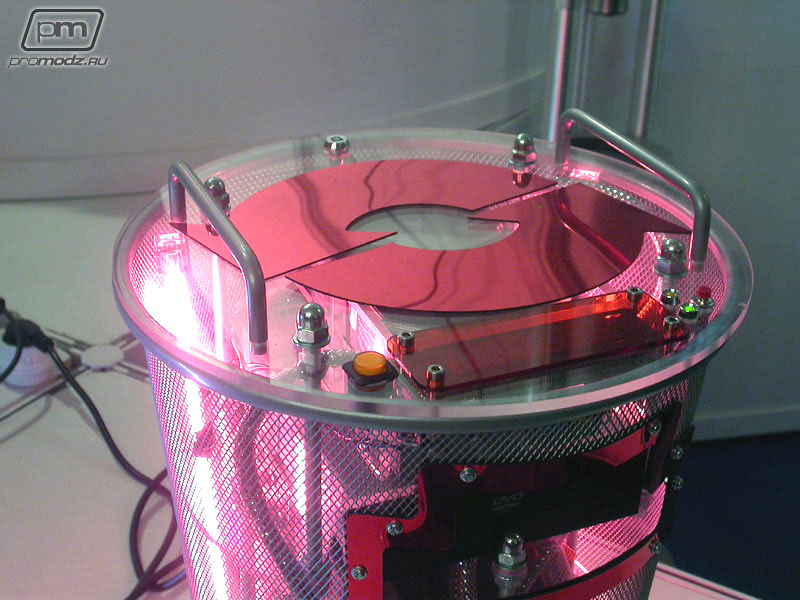
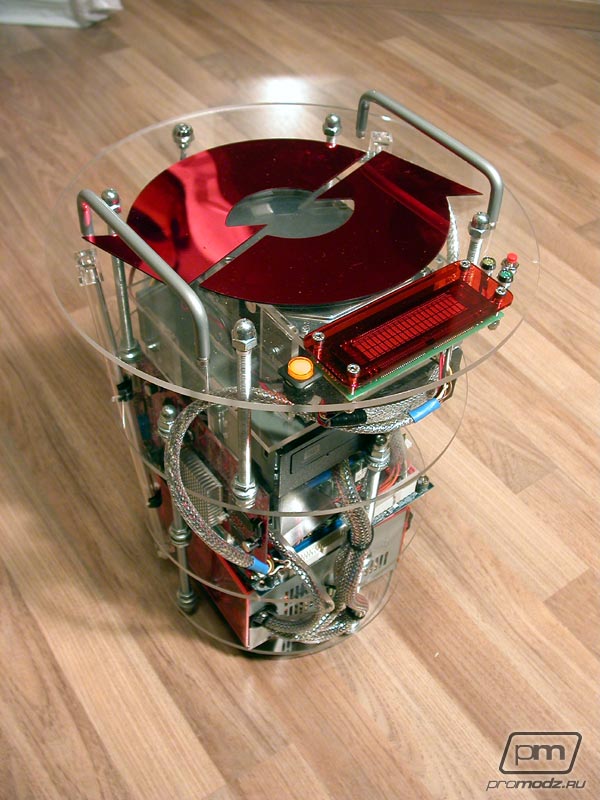
The last thing we need to work on is the top cover of our bin. At this moment it is simply transparent, so it is not very original. Besides we can see the HDD thru the cover with its annoying sticker. According to our plan, RYC will be placed on the floor near the desktop where recycle bins are usually located, so the top will be seen mostly. In this situation the top cover is the best place for putting a logo on that will partly hide the HDD in its turn. The “Recycle” logo made of the same red plastic and will be stickied to the lid with double-sided scotch tape.
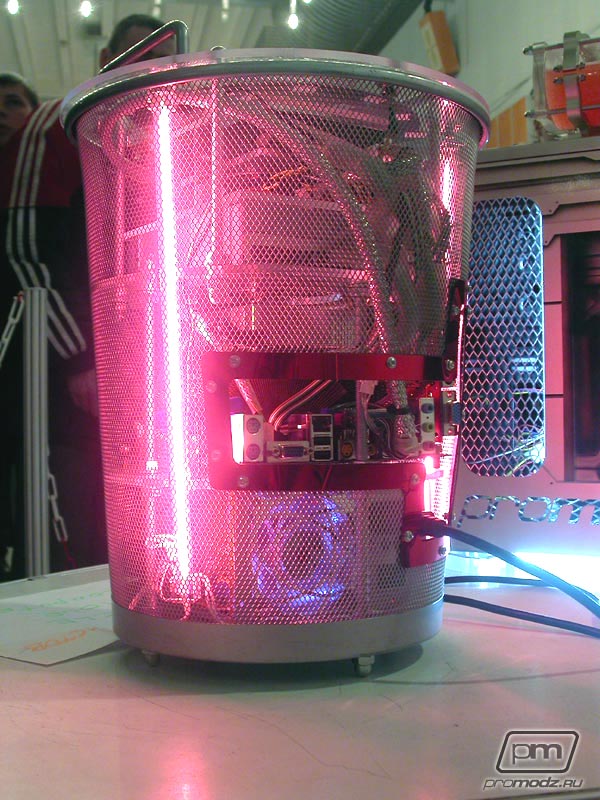
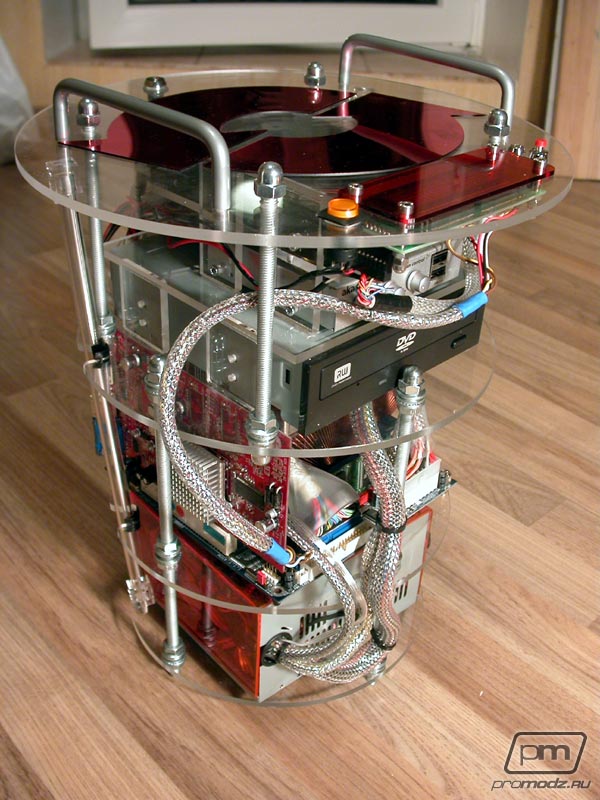
I associate (for some reason) the word “Recycle” with storing and recycling of nuclear garbage. In many Hollywood movies that have nuclear fuel in its plot it is represented as a spherical or cylindrical capsule. Removal of which is always accompanied with vapor discharge and sounds of some kind of hydraulic system. The interior of our RYC project looks just like such a kind of capsule made of plexi. For finishing work it is needed to attach handles that will ease carrying and give the possibility to extract “nuclear fuel” from the bin.
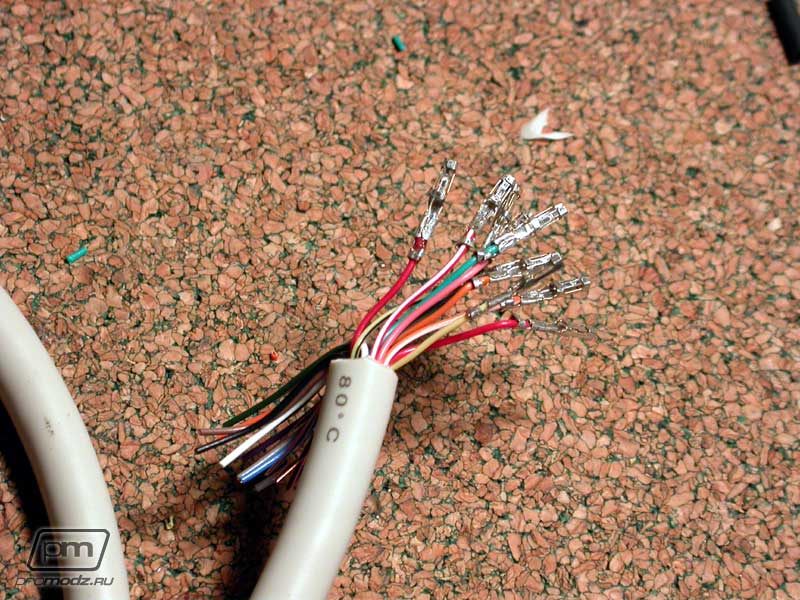
The order of the day is the most unpleasant thing –
soldering wires for LEDs, buttons and the VFD, and wrapping it all with
sleeving.
Part 4. Final Result
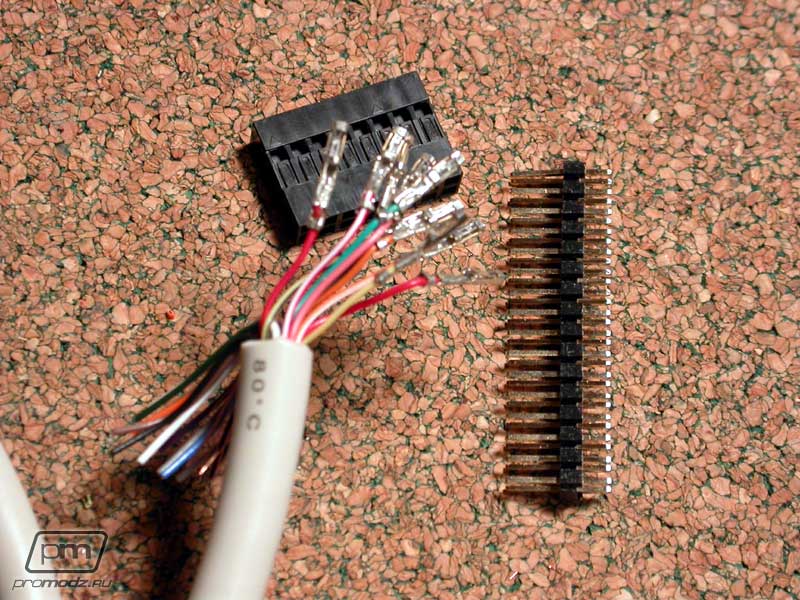
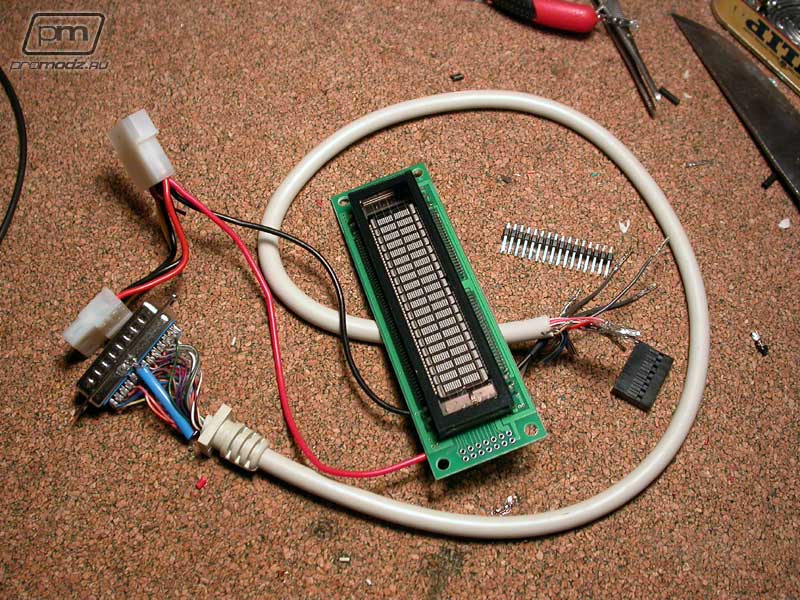
RYC project is 90% completed. What's left is the least interesting of all, soldering the buttons and VFD wires so that it is possible to fully enjoy the finished project and try it in action. There's nothing special to say about soldering though so I will briefly describe some VFD management ;) because it's the only thing that can be of interest.
Our VFD will be plugged in LPT-port. I will solder needles to the board of the display, then connect a plug to the LPT-cable. You can see it on the pic below. It allows to quickly and easily connect/disconnect wire and display.
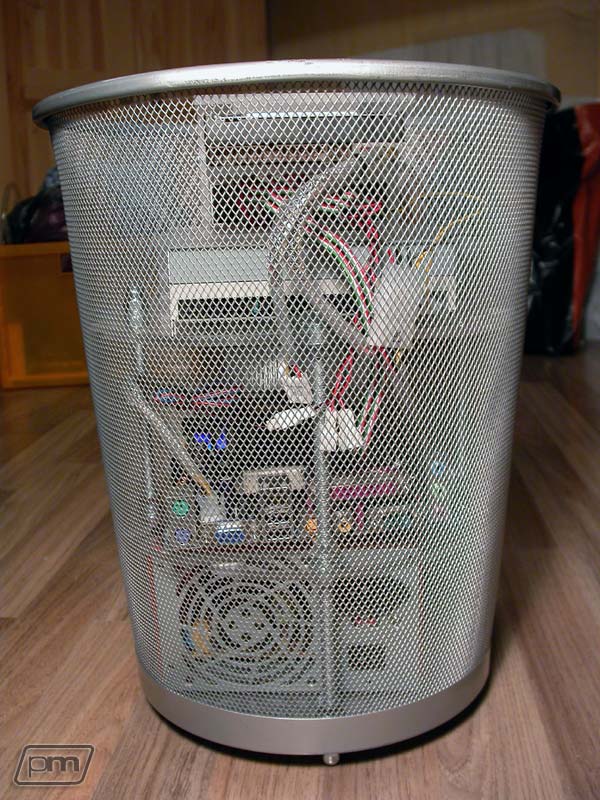
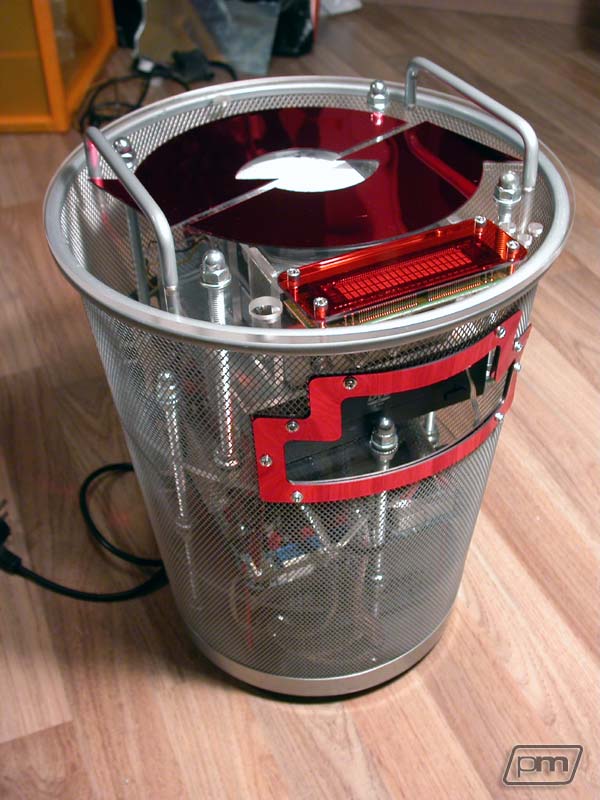
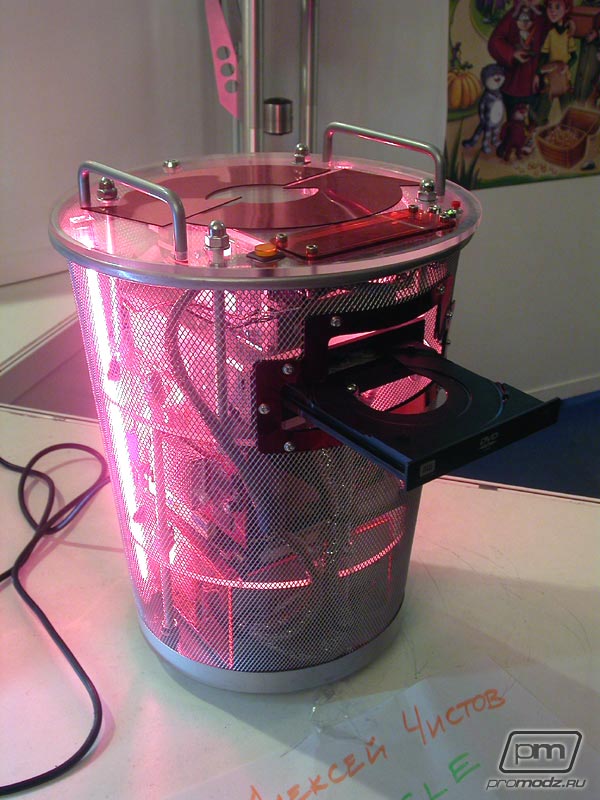
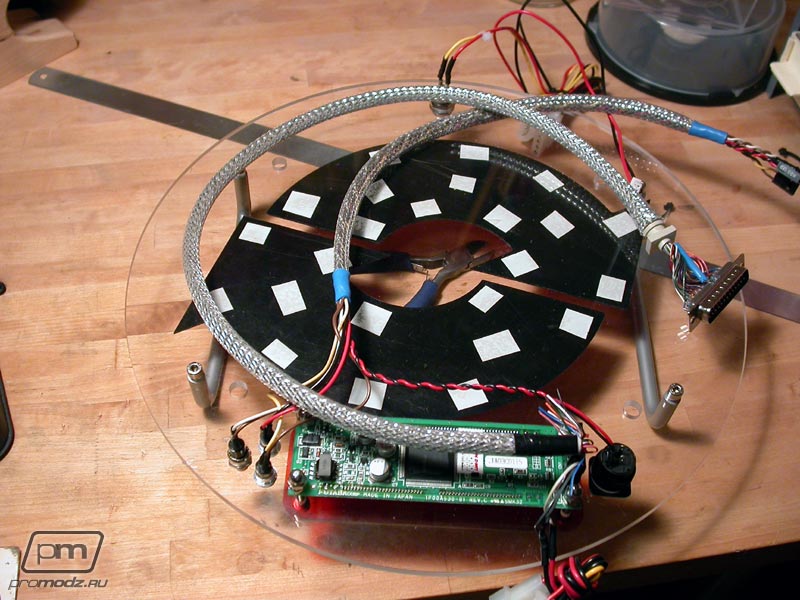
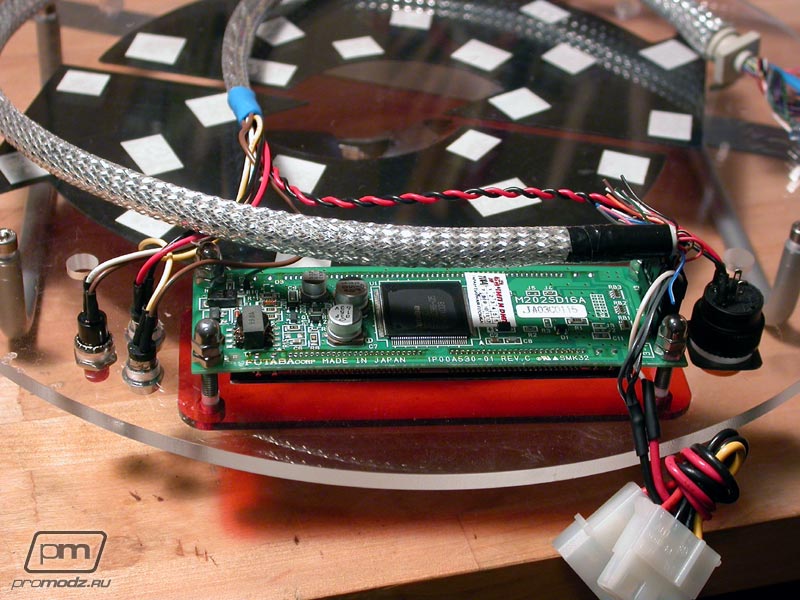
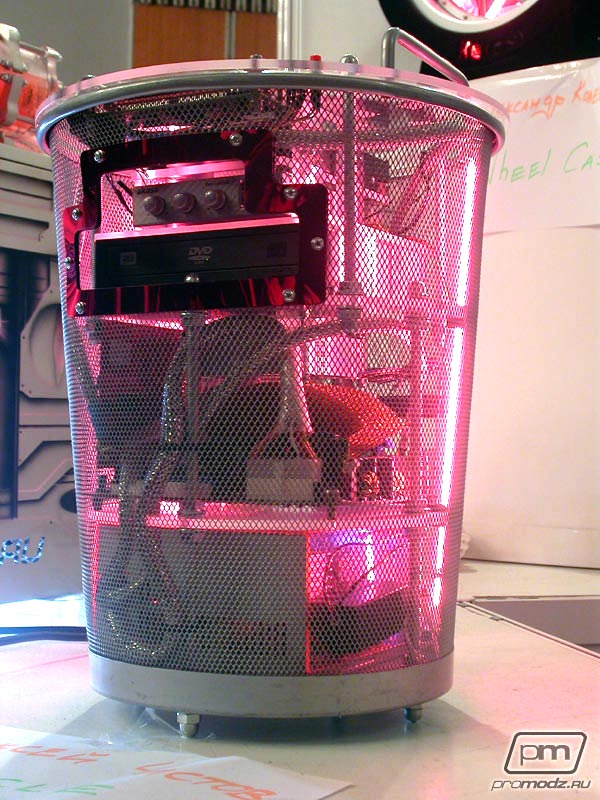
This is how project looked after the work was done.
BeWize and Yamakasi planned to participate with their RYC project in modding-contest that held in Kiev 10-12 December 2004, but they were not 100% sure about it. But when the work was done there was no doubt that they would. The project came out exactly like what they wanted - interesting, qualitative, thought-out and stylish.
Project RYC: Recycle Your Computer took 1st place on this contest. Thus, ProModz studio holds the title for The most beautiful PC of CIS for the second year one after another.
- Work log by BeWize, Translated by 2Pizza |
|
Disclaimer: This how-to guide is presented for informative purposes only. CaseModGod.com can not and will not be held responsible for damages to or resulting from anything that you may decide to do to your case or hardware. We also can not and will not be held responsible for injury to your self or others as a result of attempting any of the things that are shown on this site. Basically you are responsible for your own actions whether said actions were based on information garnered from this site or elsewhere, learn to deal with it. |