|
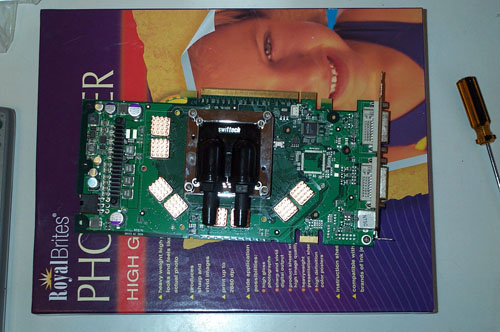
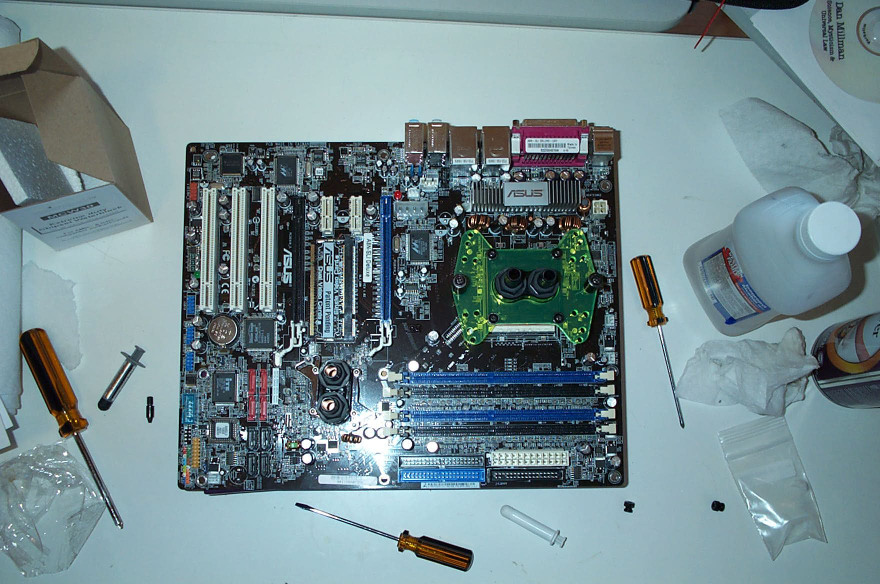
I realized just how much I hated hearing that loud buzz of fans next. I couldn’t stand the chipset fan or the BFG VGA fan. I decided to step-up to water-cooling. I sold an old Adobe software package I had to raise the money for my water-cooling journey. It was about $300.00US for all of it. It consisted of two radiators 80mm and a 120mm Swiftech, MCW-60&30 Swiftech blocks, Apogee block, DD tubing, and a whole lot of fittings and clamps. After it was done this PC is quiet! Yes, you mean I don’t have to hear some loud thing buzzing all over the place? I also need to mention you want to get the lowest (db) fans you can find but still make sure they push a lot of (cfm) they are out there.
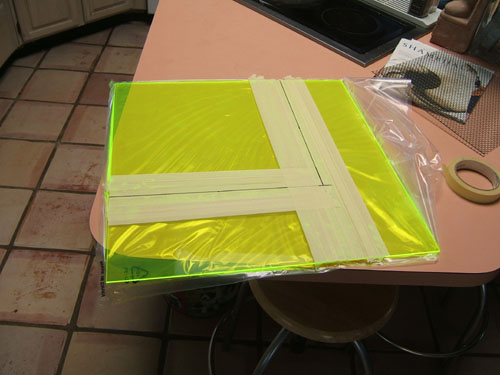
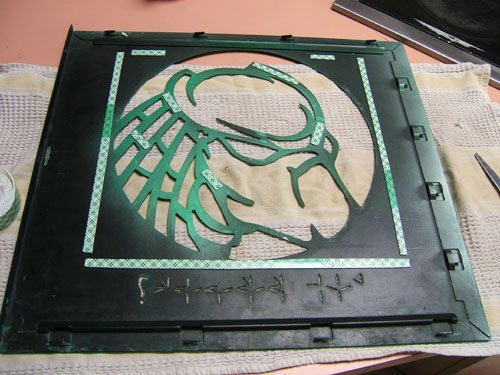
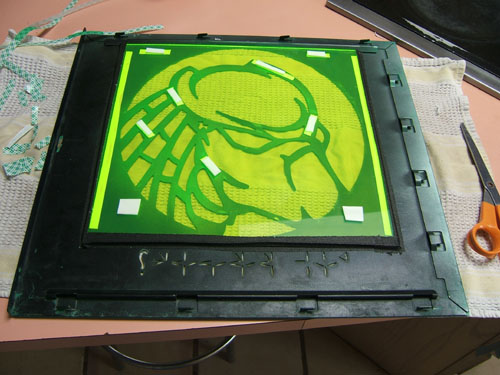
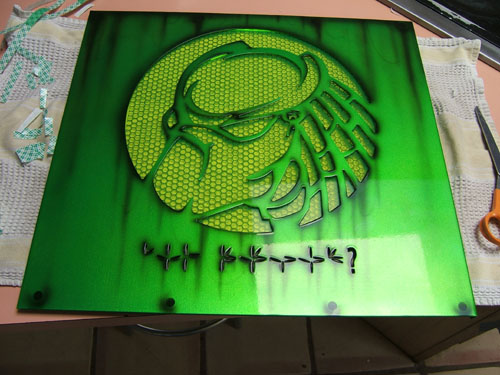
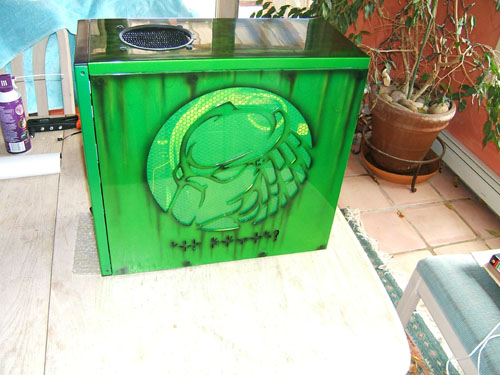
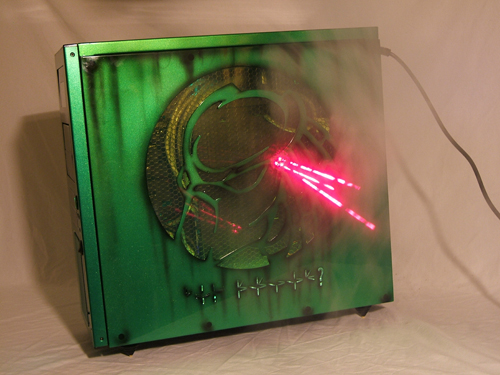
Boy this project has been going on for awhile at this point but its so very close I can taste it. Next up is to put the acrylic in the side panel, and I decided to go with a UV reactive green. I found a tutorial over at Bill Owens site that I really liked. I kind of modeled the window after him but did it with my own style. I painted the modders mesh black and put it all together. Cutting the acrylic was easy enough. All in all that part was the easiest of the project.
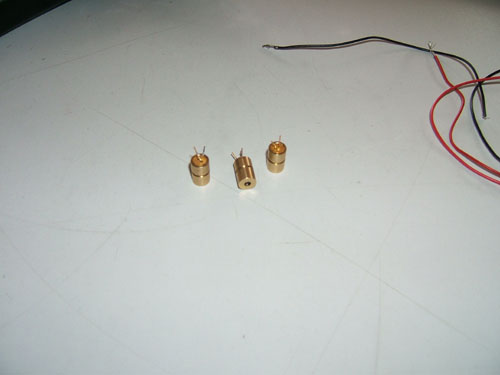
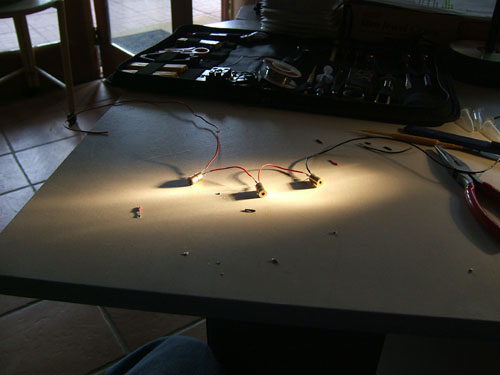
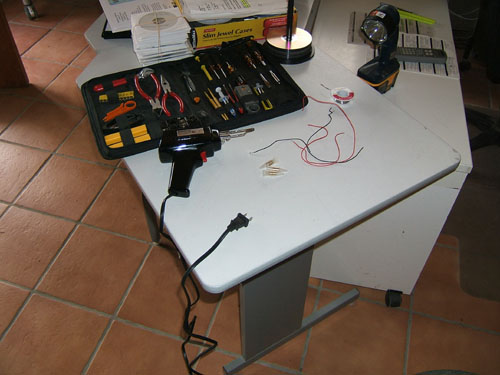
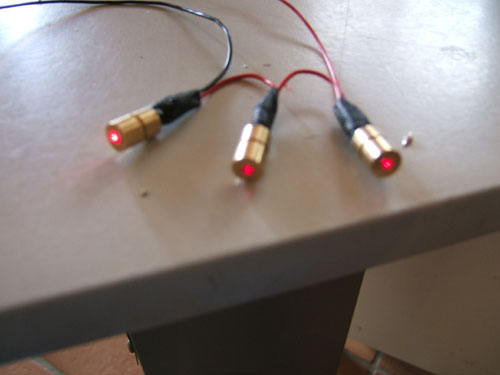
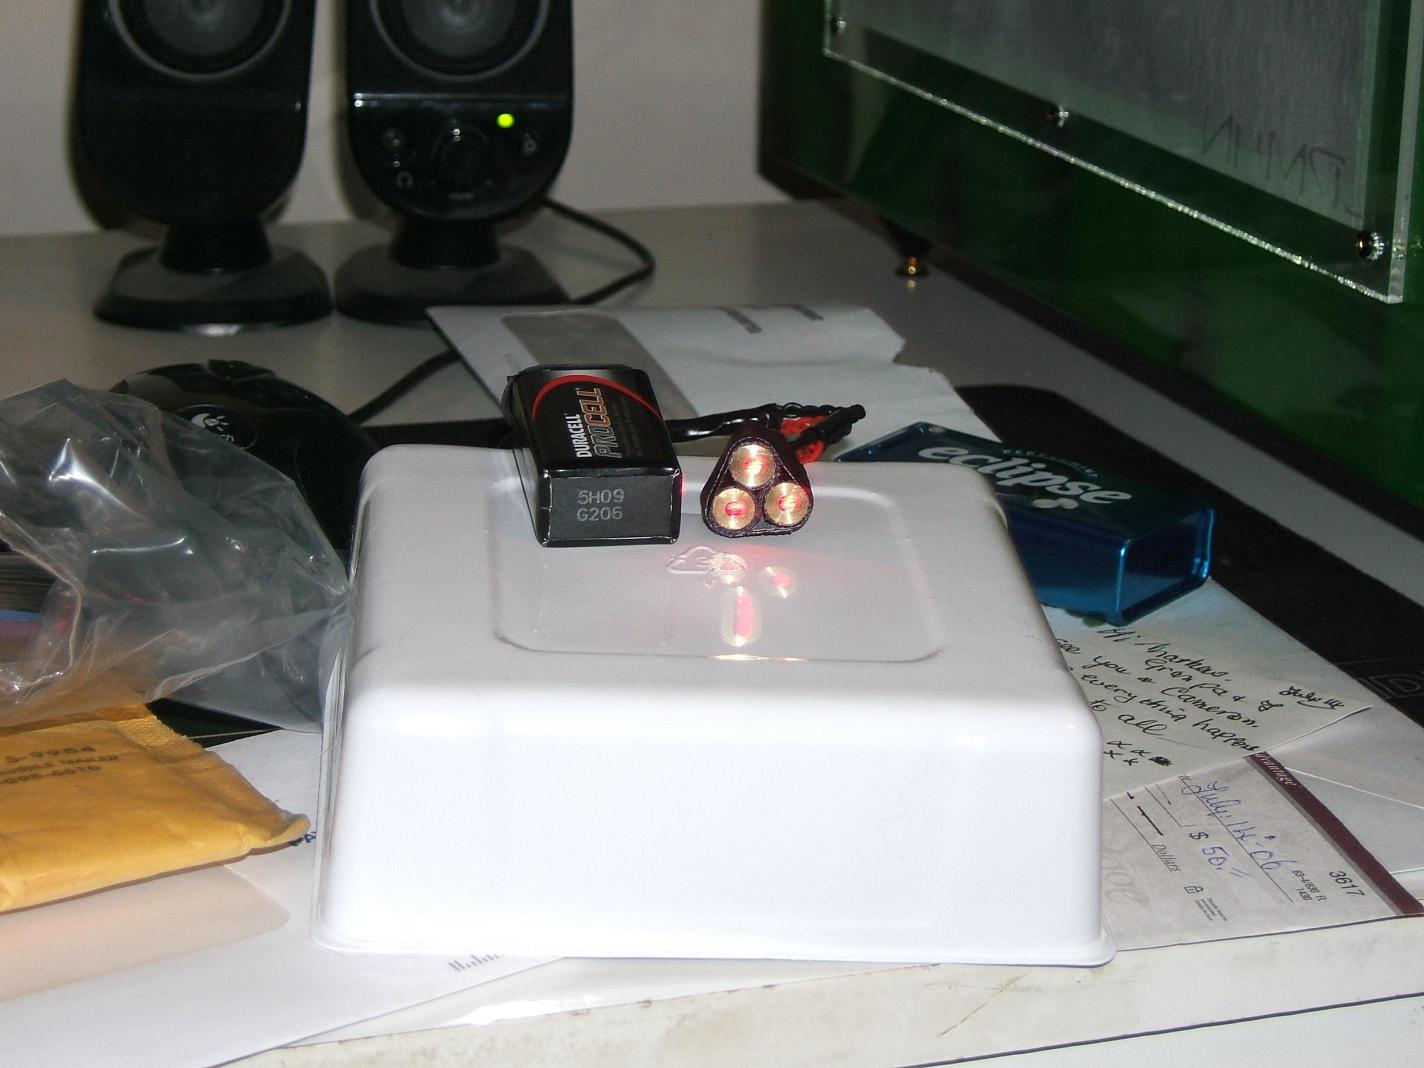
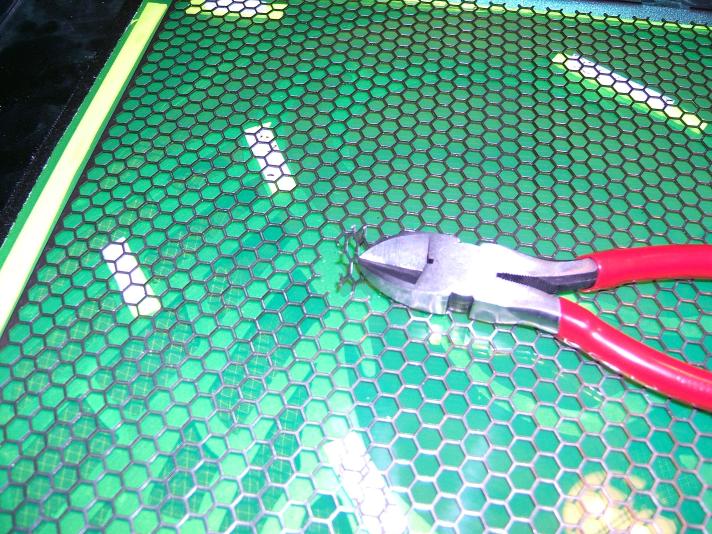
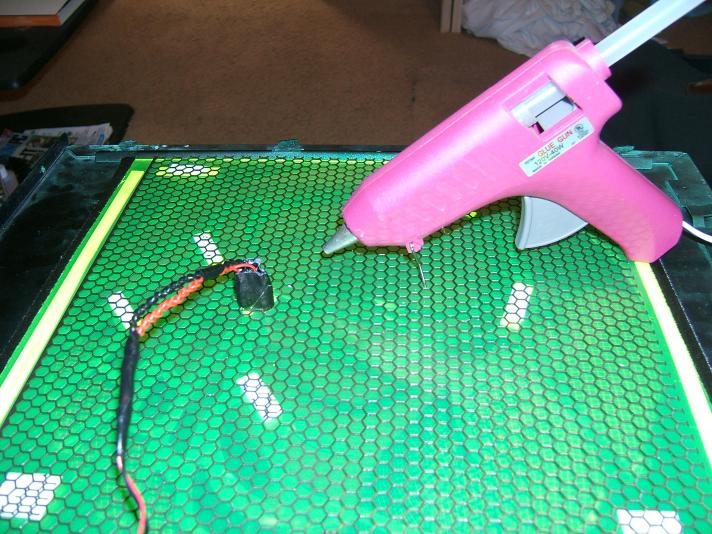
I felt that the windows would be too plain with just a cathode behind it, don’t you agree? So I thought... Predator used a tri-laser aiming device for his cannon, I knew it could be done so I went and searched. I found some diodes on eBay, and talked to some people about the voltage etc. So I ordered them up and started putting them together. Also make sure if you attempt anything with laser diodes do not let them touch one another for a long time without dividing them from each other with some heat shrink or gaffers tape, they will burn out. They ground out on each other it seems. Cut the modders mesh accordingly and used a hot glue gun to hold the lasers into place, but only after setting them up to aim how I wanted them to... that took awhile ha-ha.
|
|
|