|
Hand Cutting and Applying Vinyl Case Decals |
|
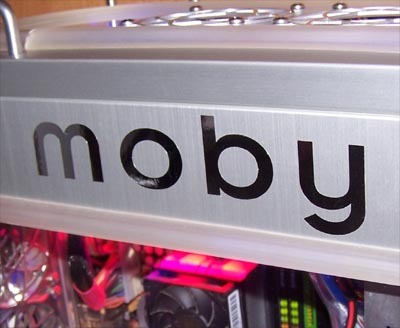
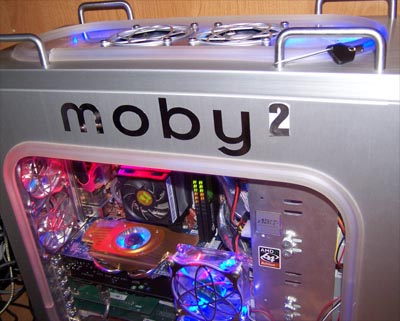
I installed a MOBY decal that I had ordered a couple years ago from a site I can no longer remember, but I got to thinking that the case it's installed upon is a sequel mod and to be entirely right the MOBY decal should have a number two after it.
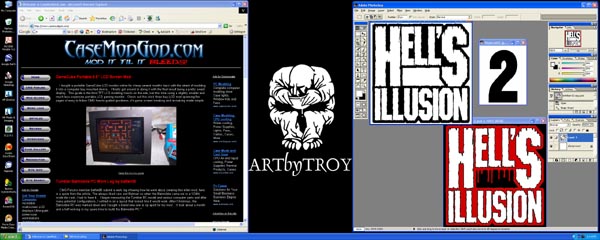
I designed a number two in PhotoShop and at the same time resized the back graphic for my Hell's Illusion mod, the desktop snapshot below shows what I did.
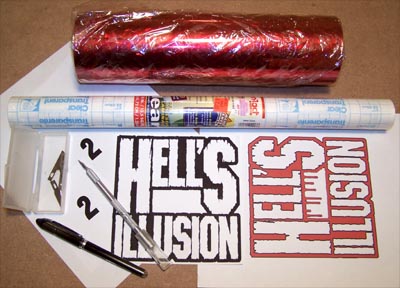
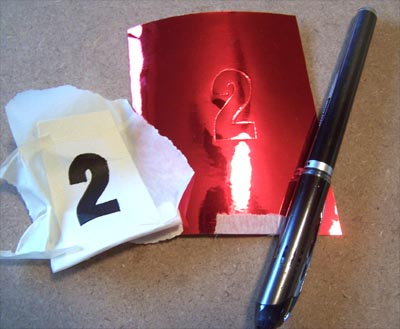
I already had red mirror chrome vinyl stock from my Hells Illusion case mod, if you don't just happen to have a roll lying around vinyl stock is easy to find on auction sites. I had actually planned on having it cut for the mod by a local sign shop, but instead I decided to try cutting it myself. Below shows the red mirror chrome vinyl stock, a roll of transparent contact paper, ball point pen, an X-Acto knife and the decal design printouts.
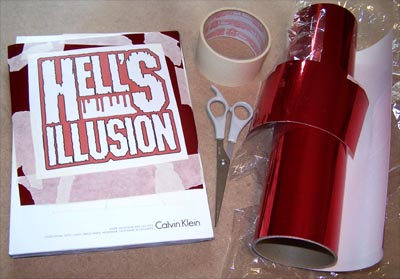
Of course I had to test this all out with the most difficult design first, I'm curious like that. Below shows the pattern taped onto a cut piece of vinyl stock and the whole shebang taped to a magazine.
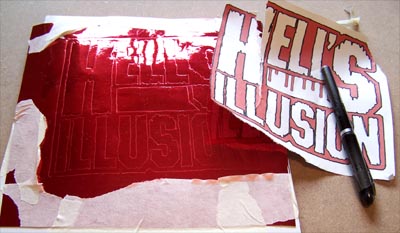
The outline of the pattern was traced with a ballpoint pen (the magazine beneath provides a little give so that the impression is deeper) the pattern sheet was then removed - the picture below shows the impression lines.
Using an X-Acto knife with a fresh blade I began the task of cutting the vinyl, the trick here is to apply just enough knife pressure to cut through the vinyl but not go all the way through the paper backing. After cutting for a few minutes you will be able to tell by how the cut feels and sounds if you are going too deep.
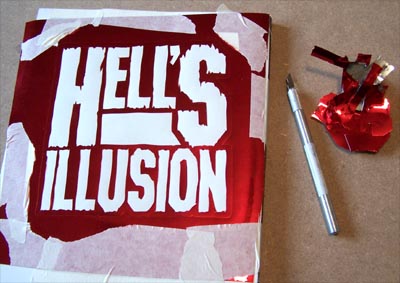
Be careful when removing the scrap vinyl, watch that you don't let the piece you are removing get stuck to the decal, this can happen when cut lines don't meet up since you have to hit it again with the knife, when you peel sections up always pay attention to what the scrap material is doing.
With all the scrap material removed a piece of clear contact paper is cut and than applied to the decal using a credit card... one down.
I measured out the location for the number two and taped one of the print outs to the case to get a better idea of the final result.
I then marked the two onto the vinyl and cut it out. The Hell's Illusion decal was actually easier to cut because the lines are not meant to be straight or neat, the smaller two decal required more precision cutting.
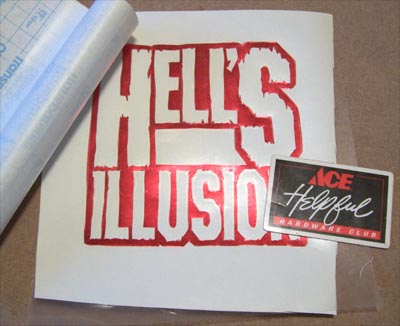
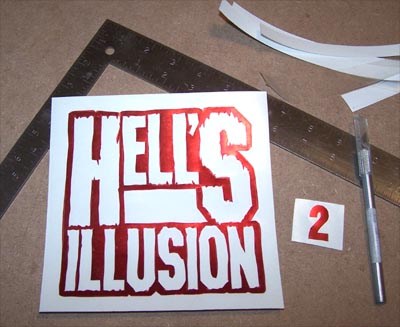
Below shows both decals coated with contact paper, cut to size and ready for install.
Installing the decal is as easy as lining it up, rubbing it down and carefully removing the contact paper.
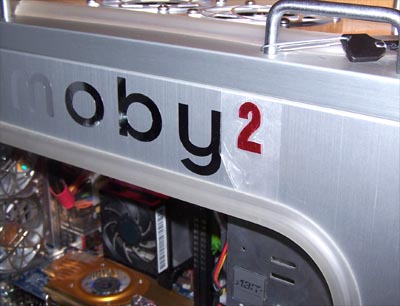
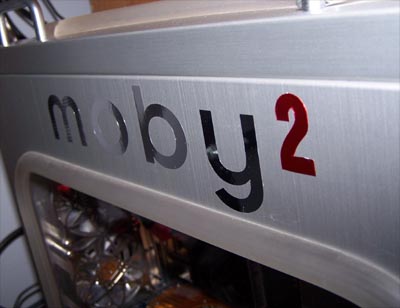
Here is the final installed product... pretty sweet. I have to wait to install the Hell's Illusion decal, I will update this guide when I do.
So, what have we learned? It takes a steady hand to cut and I'm not unhappy with the end result, but it took over an hour to cut the vinyl decals out as well as I did... time is money and hassle factors in as well. I called around and got a quote from a local auto detailing company with a vinyl cutter, six dollars so long as I had my own vinyl and the image file on CD in the right size and format, for six bucks I will definitely be outsourcing my future B.Y.O.V. (bring your own vinyl) decal cutting. Happy Modding - Guide written by ARTbyTROY Disclaimer: This how-to guide is presented for informative purposes only. CaseModGod.com can not and will not be held responsible for damages to or resulting from anything that you may decide to do to your case or hardware. We also can not and will not be held responsible for injury to your self or others as a result of attempting any of the things that are shown on this site. Basically you are responsible for your own actions whether said actions were based on information garnered from this site or elsewhere, learn to deal with it. |