|
Project Etch Putting an interesting image onto a case window really adds character to the total mod, there are several different ways to highlight a case window with the most common being an applique or an etch. There are also several different methods of attaining an etch on a window, the best and cleanest is laser etching but it is also a little expensive. Sandblasting is a little less expensive and a lot less detailed with over spray or bad masking adding to the risk of a failed mod. If you are modding on a shoestring budget then this just may be the guide for you. This guide is entirely experimental (me screwing around) but it will show how to create your own custom sanded window etching and also a few different ways to highlight it afterward..
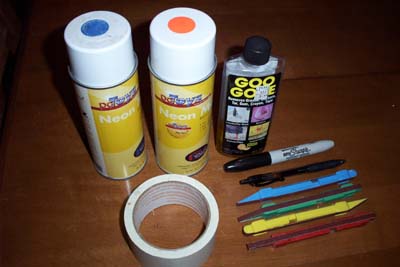
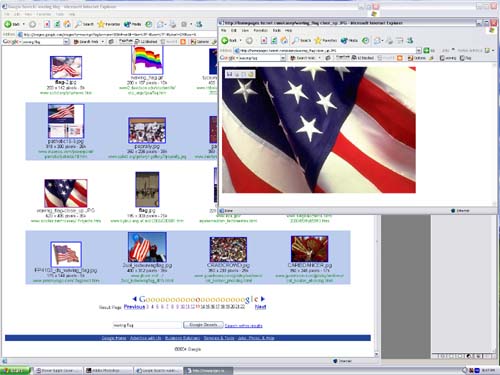
The first thing I did was select an image, I chose the American flag because it was not overly detailed and also because the UV paints that I have are red and blue. I did an image search on Google for an American flag and after looking at a number of pages finally settled on a picture that I thought would make an interesting etch.
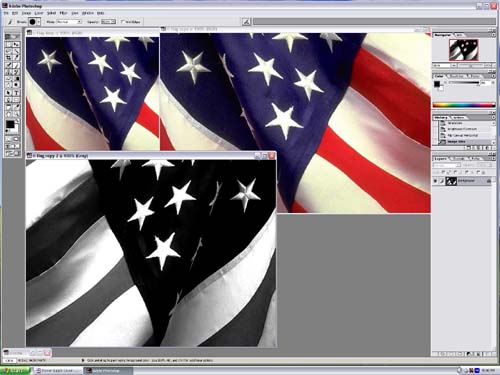
I then saved the image, loaded it into a photo editing program and sized it to fit onto my conveniently sized 8 1/2 x 11 piece of Plexi-Glass. Next I reversed the image so that it would show up correctly when viewed from the front and also converted it to black and white, no need to waste color printer ink for this.
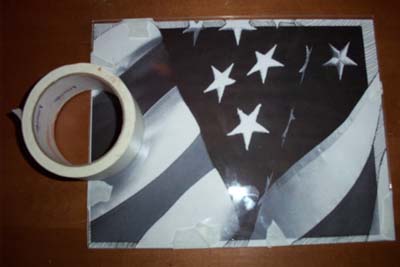
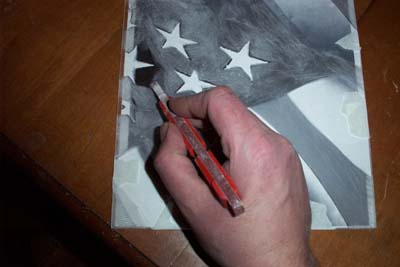
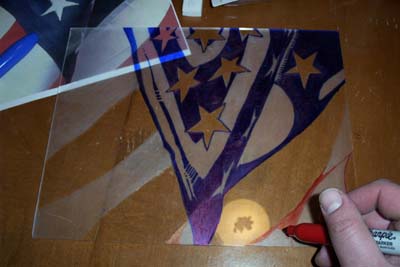
I print out the image and filled in the missing areas around the edges with a pen, better to figure it all out on paper first. I then taped the image onto the Plexi-Glass, folding the tape over onto the areas that would not be sanded. I also outlined the blue area of the flag with a black sharpie marker just so I could tell how much had to be sanded but it isn't really necessary.
Break out the sanding wands and start etching. I found that short smooth strokes with the wand held flat worked best, try to avoid holding the wand at too steep an angle and also from sliding it left to right. Up and down or back and forth... so long as you stay inside the lines, change direction often, continuously rotate the belt and apply even pressure you should end up with a consistent etch. For the stripes of the flag I intentionally used long strokes of the sanding wand going in the same straight line direction to give a different effect and set it apart from the blue areas.
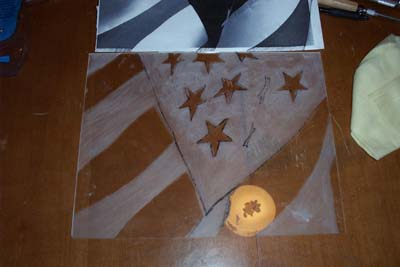
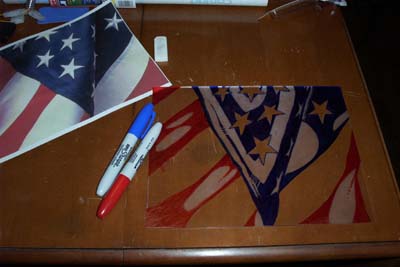
Here it is with the primary etching finished and the background picture removed, now it is just a matter of touching up the rough spots and trying to make the whole thing look even. Use the tack cloth to remove the sanded plexi dust from your etch often and keep sanding out the areas that need it. My dining room table is showing through the Plexi-Glass in the picture below to better highlight the areas that need attention, but I recommend putting a piece of cloth or a towel beneath your work to prevent scratching the front side of the plastic.
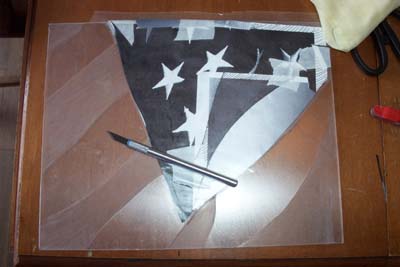
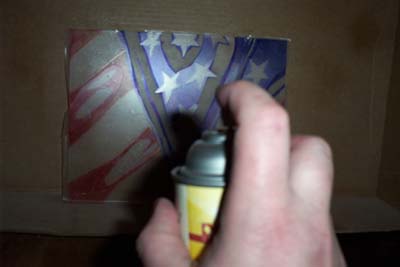
After I was satisfied with the finished flag etch I removed the masking tape residue with Goo-Gone and then masked off the separate sections of the image in accordance to color using clear contact paper. I placed the contact paper onto the etch side of the Plexi-Glass, smoothed it down with a credit card and cut out the etched sections to be UV spray painted using an X-Acto knife, be careful to apply just enough pressure to cut through the contact paper without scarring the surface of the plexi - a steady hand and patience are key. After the masking was finished I sprayed on the UV blue and then re-masked it and applied the UV red.
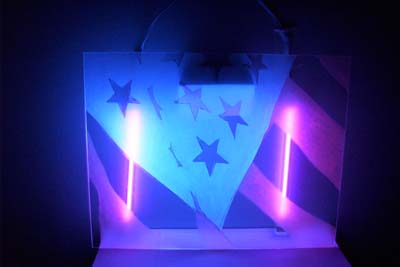
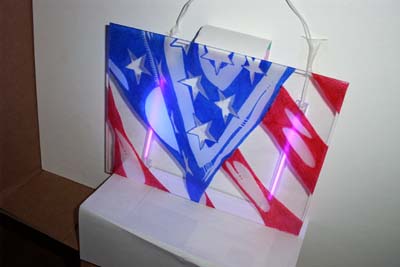
I was kind of expecting a little more out of the UV spray paints, they don't really glow like I thought they would at least not on the back of an etch. The picture below shows the front of the plexi with the etched areas highlighted in UV and illuminated by two six inch UV cathodes... kind of weak. Well, I already know I don't like it as is, so now I will focus on trying to make it better.
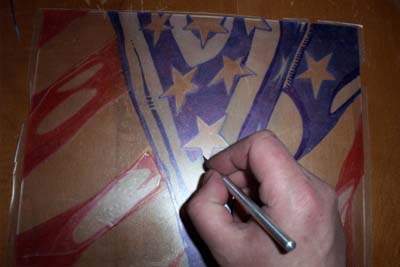
I bought two beefy sharpie markers specifically for this next part, one in red and the other blue. I was not as interested in making it look like an exact copy of the original picture so much, I just more or less wanted to make it look interesting. With that in mind I sat down and started coloring the etched areas leaving some spots blank for a second shot of UV paint.
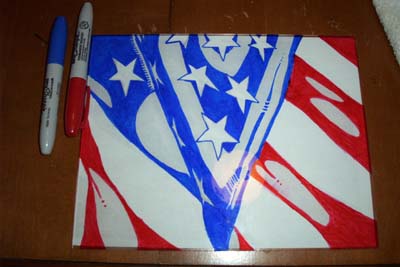
Below is a shot of the back side of the Plexi-Glass sitting on my dining room table.
And the next picture shows it from the front side sitting atop a piece of printer paper.
Time to retry the UV spray paints, but first roll out some clear contact paper over the image and break out the X-Acto knife. I cut out the contact paper wherever it was etched but not colored for both the blue and red UV areas, saving the pieces that I removed so that they could be reapplied when I changed color. Looking back it would have made better sense to just mask it as I had the first time and not have to go through the hassle of all the extra cutting.
I reapplied the clear UV spray paint in thin even layers letting it dry in between, if you have never used this stuff I have to tell you it stinks to high hell and you will definitely want to use it in a well ventilated area. I let it dry completely and then removed the contact paper mask.
I set it up using the same six inch UV cathodes as before and then turned off the lights, mouse over the picture below to see how it all turned out.
As you can see in the mouse over picture above the Sharpie markers aren't entirely the best choice for color if you desire even coverage, but if nothing else it served to give me a new idea how to do it better. It is finished for now and though I am still not entirely satisfied with the end result doing it has given me even bigger ideas. Happy Modding - Guide written by ARTbyTROY |
|
Disclaimer: This how-to guide is presented for informative purposes only. CaseModGod.com can not and will not be held responsible for damages to or resulting from anything that you may decide to do to your case or hardware and also can not and will not be held responsible for injury to your self or others as a result of attempting any of the things that are shown on this site. Basically you are responsible for your own actions whether said actions were based on information garnered from this site or elsewhere, learn to deal with it. |