|
3.25" Switch Bay Guide This simple guide will show you how to make a switch bay from a 3.5" floppy blank. Since many modded cases have more than one light source either inside of or outside the case a front mounted switch bay can make turning them on or off easier by putting your switches onto the front of your case and within reach. |
|
|
|
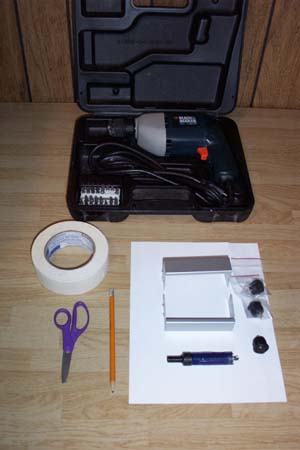
Tools Needed
Parts Needed
|
|
Click on the picture below, save the template image to your computer then print your file.
The above picture is all the template you need to make a single, double, triple or quad switch bay. If all you need is a single switch for now use the centermost blue dot. Need two switches on your bay cover? Use the two outside edge blue dots. For three switches use all three blue dots and if you need four switches (which you know you will) use the four red dots. We didn't have the template when we made our switch bays, we just traced the bay cover and folded the paper so that the crossed fold lines showed where to drill the holes. The template was made to save the trouble of having to try and explain how to fold the paper to get the spots for the holes. Plus if you want or need more than one switch bay for your case they will always come out the same by using the template. Tape the template to your bay cover and have a beer.
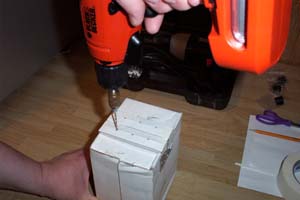
Put on your safety glasses. Use the 1/8" or smaller drill bit to make pilot holes in the floppy bay cover at the template marks.
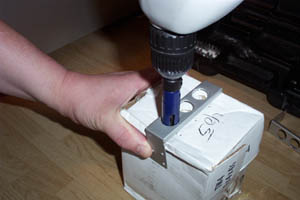
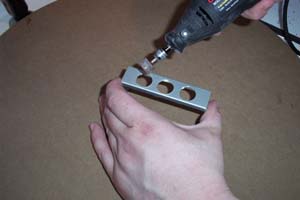
Now that the pilot holes are drilled the template can be removed. Attach the 3/4" hole saw to the drill and make the holes for the rocker switches.
Use the rotary tool with a grinding bit to remove any burrs and rough edges, be careful not to let it dance across the front of the face plate while doing it. I recommended that you do this part from the inside of the bay, but be careful as the grinding stone can still jump out and damage the front of the cover. If you want to be extra careful you can use a rounded metal file instead of a dremel and file the edges from the inside of the bay cover, it's a little more time consuming but a lot less risky.
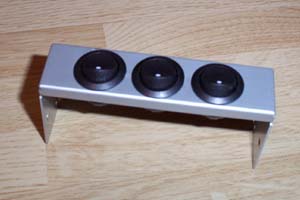
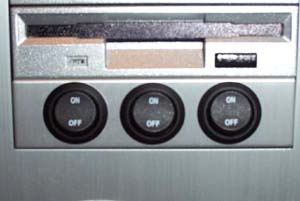
Insert the rocker switches into the holes, if it is too tight for them to fit go back to the rotary tool or file and make the hole a little larger around. You can also cut the tabs off the sides of the rocker switch to make it fit easier.
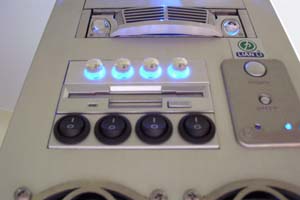
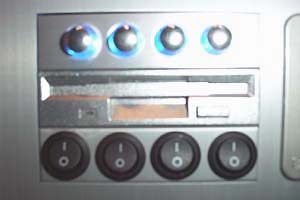
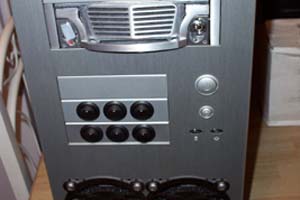
Install the switch bay into the case and hook up all the lights or fans, have a beer and revel in your mad modding skills.
For something that is so easy to make it looks damn good. We have seen this same thing for sale at a mod store for $10 but they only have 2 switches, which makes our switch bays better.
Happy Modding - Guide written by ARTbyTROY |
|
|
Disclaimer: This how-to guide is presented for informative purposes only. CaseModGod.com can not and will not be held responsible for damages to or resulting from anything that you may decide to do to your case or hardware and also can not and will not be held responsible for injury to your self or others as a result of attempting any of the things that are shown on this site. Basically you are responsible for your own actions whether said actions were based on information garnered from this site or elsewhere, learn to deal with it. |
|