|
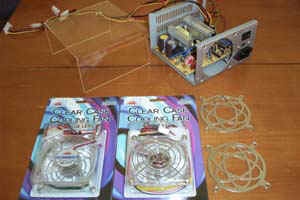
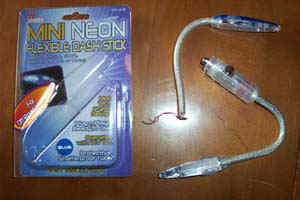
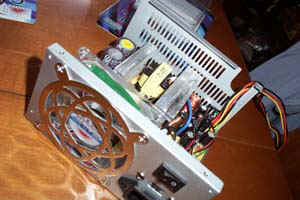
Atomic MOBY PSU WARNING: USE EXTREME CAUTION WHEN OPENING, HANDLING OR MODIFYING A POWER SUPPLY. THERE ARE CIRCUITS/PARTS INSIDE THAT HOLD AN ELECTRICAL CHARGE EVEN WHEN POWERED DOWN THAT IF TOUCHED OR HANDLED INCORRECTLY CAN CAUSE SERIOUS INJURY OR DEATH. WORSE YET, IT COMPLETELY VOIDS YOUR WARRANTY. YOU HAVE BEEN WARNED, ATTEMPT THIS GUIDE ENTIRELY AT YOUR OWN RISK. I decided to use some pre-mod items and mod a few other things into my "Atomic MOBY PSU" as well. I am using an acrylic PSU cover, a couple of blue quad LED fans, two atomic grills, two automotive flexible LED light sticks, chrome loom, six 5v LED's and some home made appliques. Following BFT's Test PSU Guide I removed the ATX connector wires, but instead of cutting them with wirecutters I used a pair of hemostats to remove the wires as close to the PCB of the PSU as possible, gently rocking the wire back and forth allows them to come off right at their solder points.
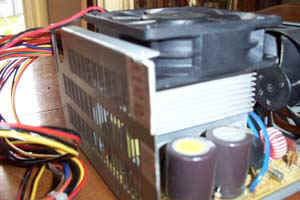
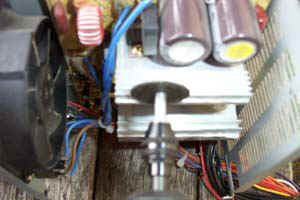
I am using two blue LED fans in my PSU to illuminate it but when I initially removed the cover and tested for fit I realized that I would have to do some cutting. The heat sinks inside the PSU sat too high to allow for a top fan and would have to be cut down.
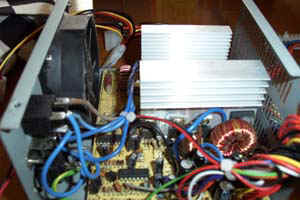
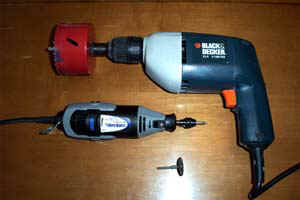
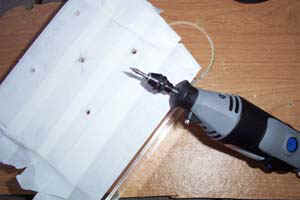
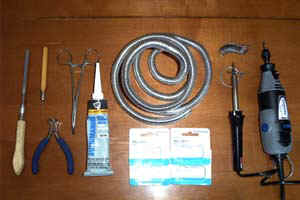
Below is a picture of the tools needed for the next couple of steps, a dremel with a cutoff wheel and a variable speed drill with an 80mm hole saw. I used the dremel with the cut off wheel to get the heatsinks sized up and then filed them smooth.
You can see how much material needed to be removed to allow room for the top fan. Since the cutoff wheel was already attached to the dremel I also removed the back fan and cut out the metal grill from the back. I used the file to de-burr the edges of the back fan hole.
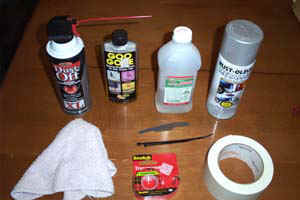
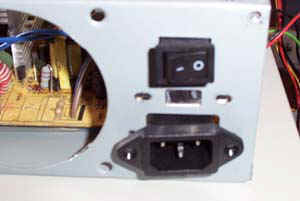
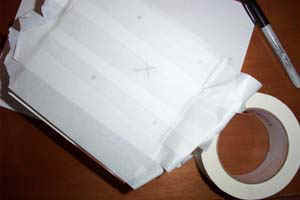
Below you see the materials that will be used in the next step, Dust off, Goo Gone, alcohol, a rag, spray paint and masking tape. Blow out the PSU with the dust off, better yet if you have access to an air compressor use that, we don't want crud in our paint job or metal filings in our PSU. Use the goo gone to remove any adhesive residue from warranty stickers and the like, then use the rag and rubbing alcohol to clean off any goo gone residue and oil from your hands from the outside of the PSU. Unscrew the power plug and on/off switch and mask them off.
Use the masking tape and some newspaper to mask off the PSU's guts and prevent over spray from getting inside. In a well ventilated area (outside) proceed to spray paint your PSU, I chose a silver spray paint to match my Lian Li case.
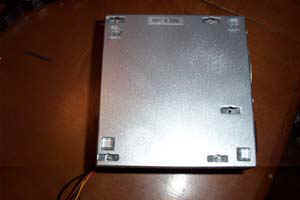
After it dries reassemble the switch and power plug. I spliced the quad LED blue fan into the wiring from the stock fan that I removed and wrapped the wires in heat shrink. I added an atomic grill and screwed the whole thing in. I also bought some clear bumpers for the bottom of my PSU to keep it from scratching up the surface of my desk.
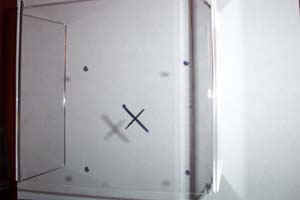
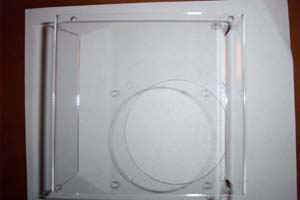
I put the bumpers as close to the edge of the PSU's corners as possible and then flipped the whole thing over. I slid on the acrylic PSU cover and positioned one of the atomic grills where I wanted my top fan. Using a sharpie I marked the holes for the fan screws.
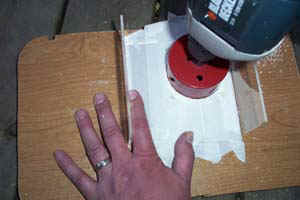
I then took a ruler and went corner to corner using the dots I just made to find my center mark. Then I masked off the acrylic cover on both sides, you should still be able to see the marker lines through it. Masking off the acrylic serves a dual purpose, first it helps prevent accidental scratches while you work on it and second it adds strength to the material to help prevent the acrylic from cracking when cutting and drilling.
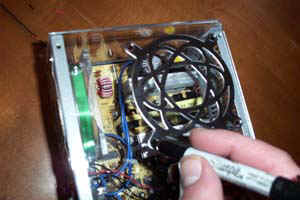
I used the dremel to drill the holes for the fan screws and also a center pilot hole for the hole saw. I then carefully drilled out the 80mm hole for my top fan. The best way I have found to cut holes in acrylic is to start the cut with the hole saw going forward, just until the pilot bit is through and then cut the hole in reverse. Don't cut the hole too fast or the acrylic can melt (very bad if melted acrylic cools and hardens on the hole saw) and don't apply too much downward force or the acrylic could crack. Remove the masking tape and use some goo gone to remove any adhesive residue. You can install the top fan and grill now, but don't wire it just yet. For this next part I used a hobby file, a needle tool, wire cutters, hemostats, clear silicone, chrome loom, four 5v LED's, a soldering iron and my trusty dremel.
|
|
|