|
Stealthed CD-drive button reroute mod
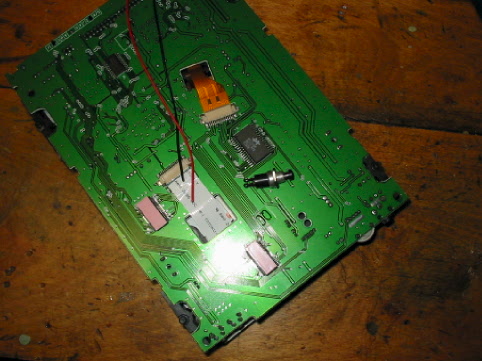
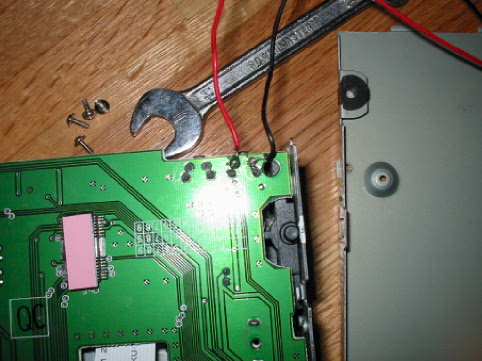
Above is a picture of the top of the PCB to the optical drive. Unfortunately on this drive the switch was not wired through the bottom, but was rather soldered onto the top. This means there weren't any exposed nodes on the bottom to solder the new switch to. Not a huge problem, but it makes the soldering a bit harder.
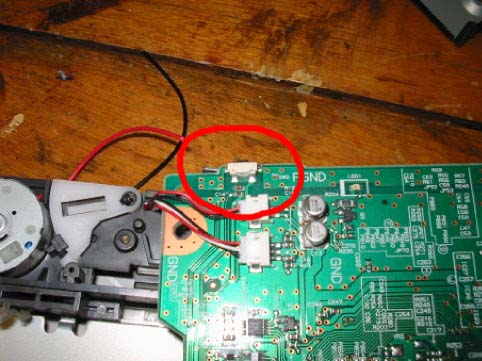
In the picture above I removed the switch, simply by tearing it off with a pair of pliers. This will give us a bit more room to solder the new switch on. You can see that the switch had 4 contact points, the 4 spots of solder that are circled on the PCB. The two closest to the edge are there simply to hold the switch in place and carry no electrical current. This means that the new wires will be soldered to the two interior nodes.
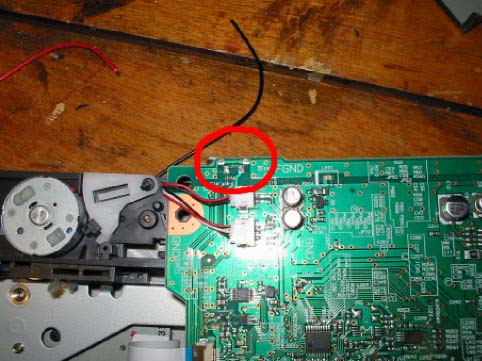
Above you can see the wires soldered on, (with professional efficiency of course). For soldering newbies: Plug in your soldering iron now. To solder the wires, open up your container of flux and use something like a clean nail to pick up a dab of it. Touch the flux to the nodes so that each node has a little bit of flux on it. Try not to have any flux touching the PCB, and definitely not any other electrical parts. Think of flux as a vacuum for solder, the flux will "suck" the solder towards it. If you're careful with your flux then your soldering will be cleaner. Strip the end of the wire (the less you strip the better, if you do it well enough you won't have to heat-shrink them) and place it on the node. After the soldering iron heats up, touch it to the solder, the solder will melt onto the iron. Now touch the iron (the part with solder on it) to your spot of flux on the PCB. This may take a little bit of practice so you may want to mess around with some spare wire, but the learning curve is quick.
Snake the wires through an existing hole in the cover of the optical drive, or if there isn't one you could drill your own.
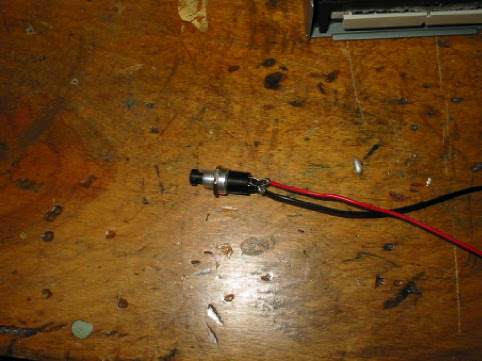
Solder the wires onto the switch.
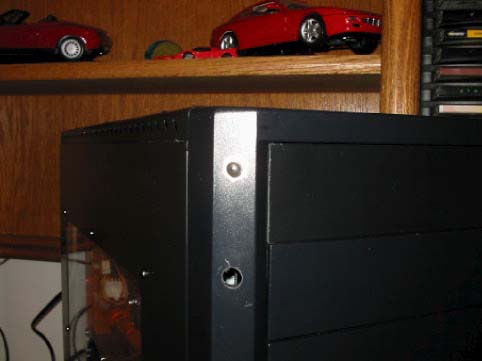
You can put the switch anywhere on your case, I chose the most convenient spot right on the front. A power drill with a quarter inch bit did the job just fine.
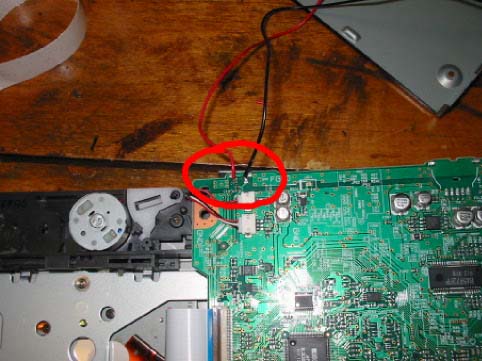
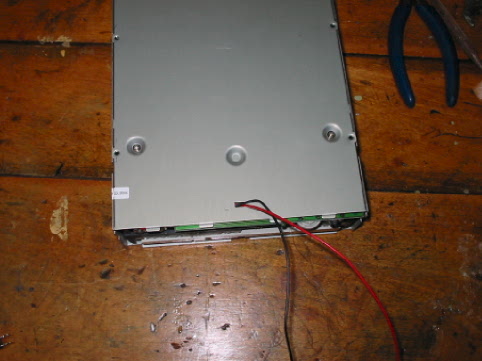
I also did this same mod on a second optical drive, on this one the switch DOES have nodes on the bottom of the PCB. Below you can see what it looks like soldered.
On this particular drive, the current carrying nodes for the switch are the two
nearest the edge of the PCB. Obviously, drives do vary in their construction so
you'll have to check to see which kind you have before you go soldering away. Happy Modding! - Guide written by SPIZZY |
|
Disclaimer: This how-to guide is presented for informative purposes only. CaseModGod.com can not and will not be held responsible for damages to or resulting from anything that you may decide to do to your case or hardware and also can not and will not be held responsible for injury to your self or others as a result of attempting any of the things that are shown on this site. Basically you are responsible for your own actions whether said actions were based on information garnered from this site or elsewhere, learn to deal with it. |